
-
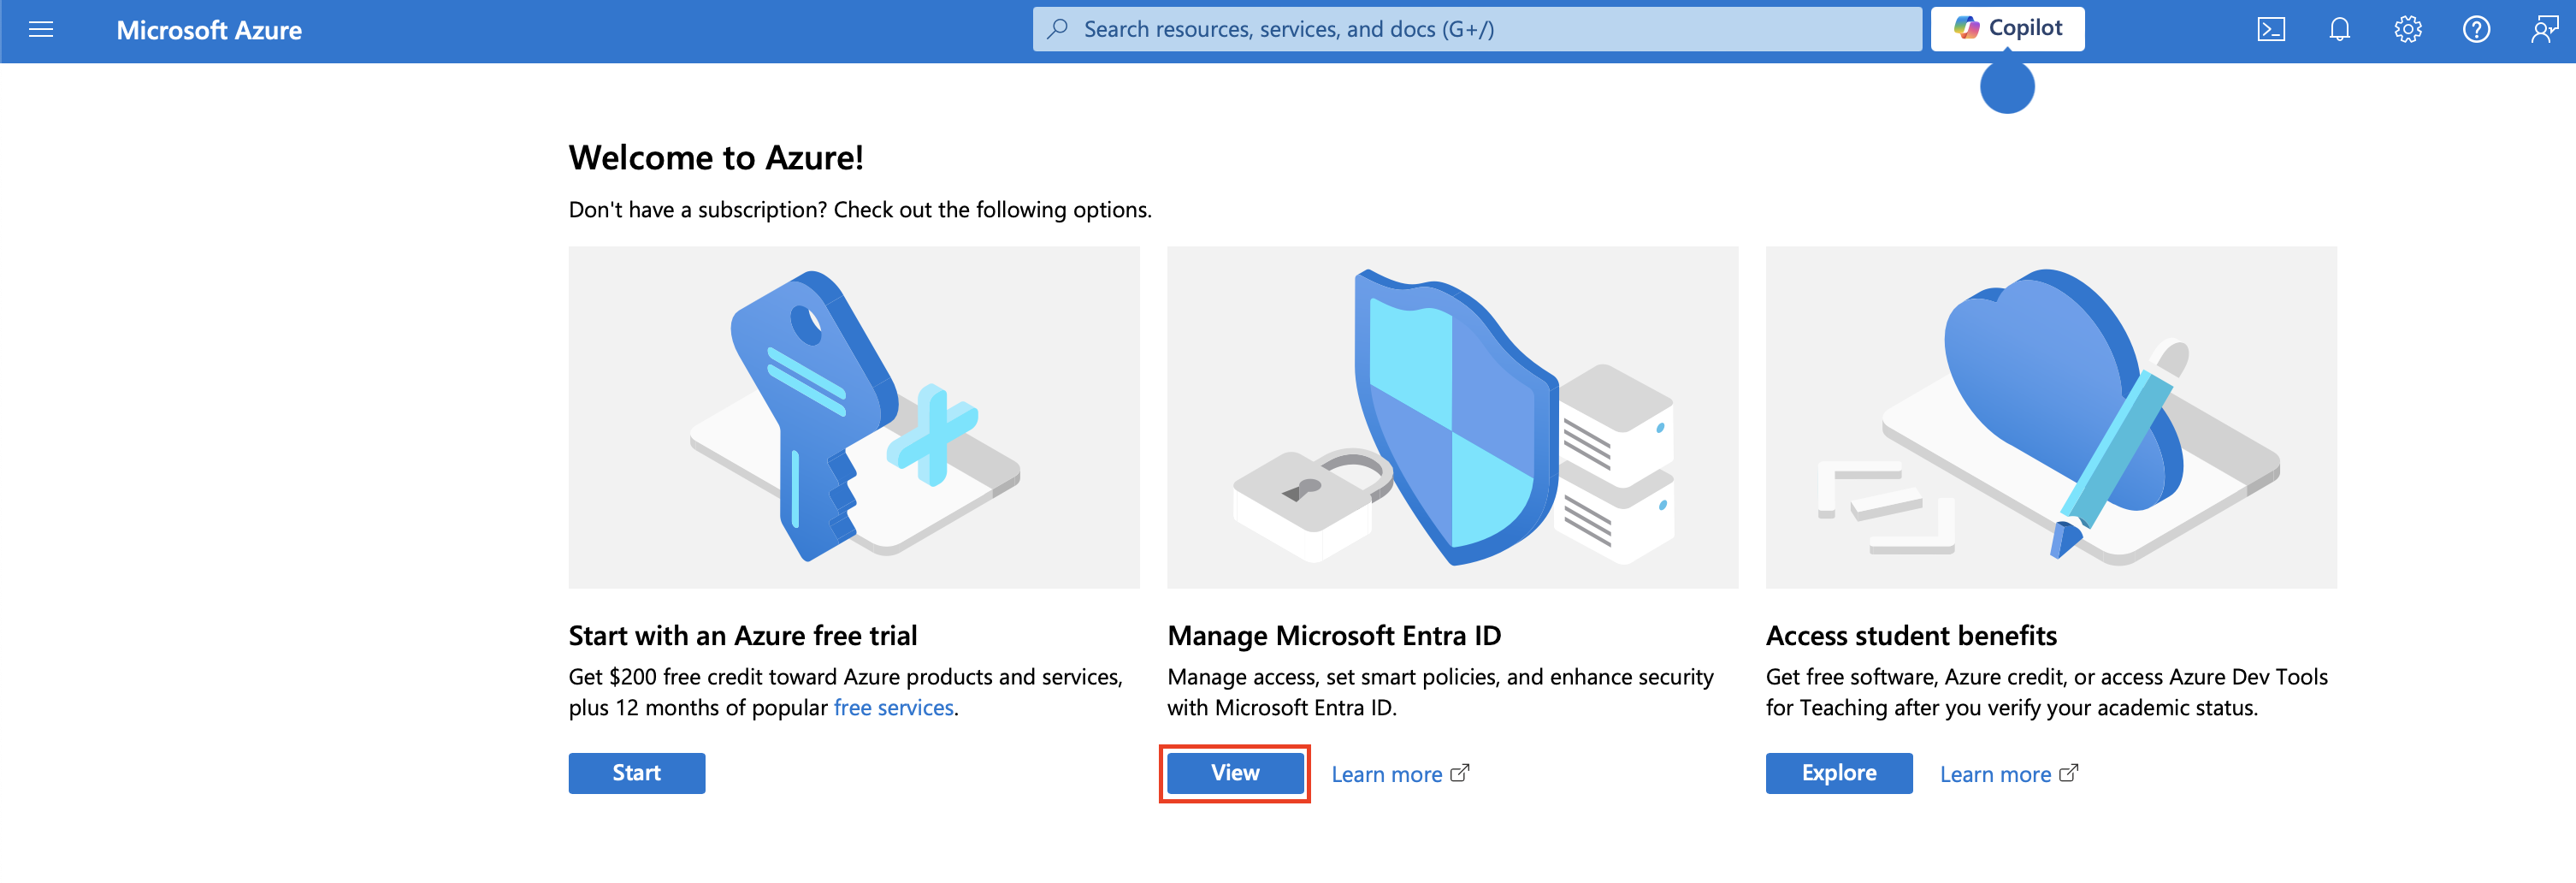
Go to https://portal.azure.com/#home and click on the View button under Manage Microsoft Entra ID.
-
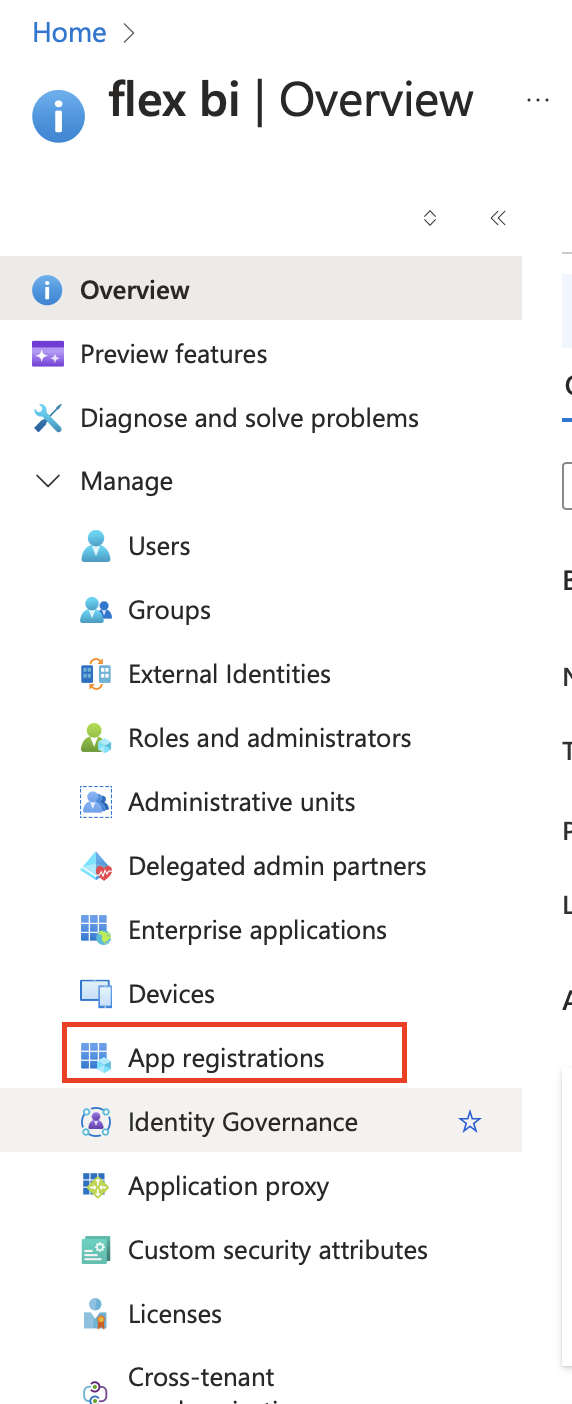
Click on the option App Registrations.
-
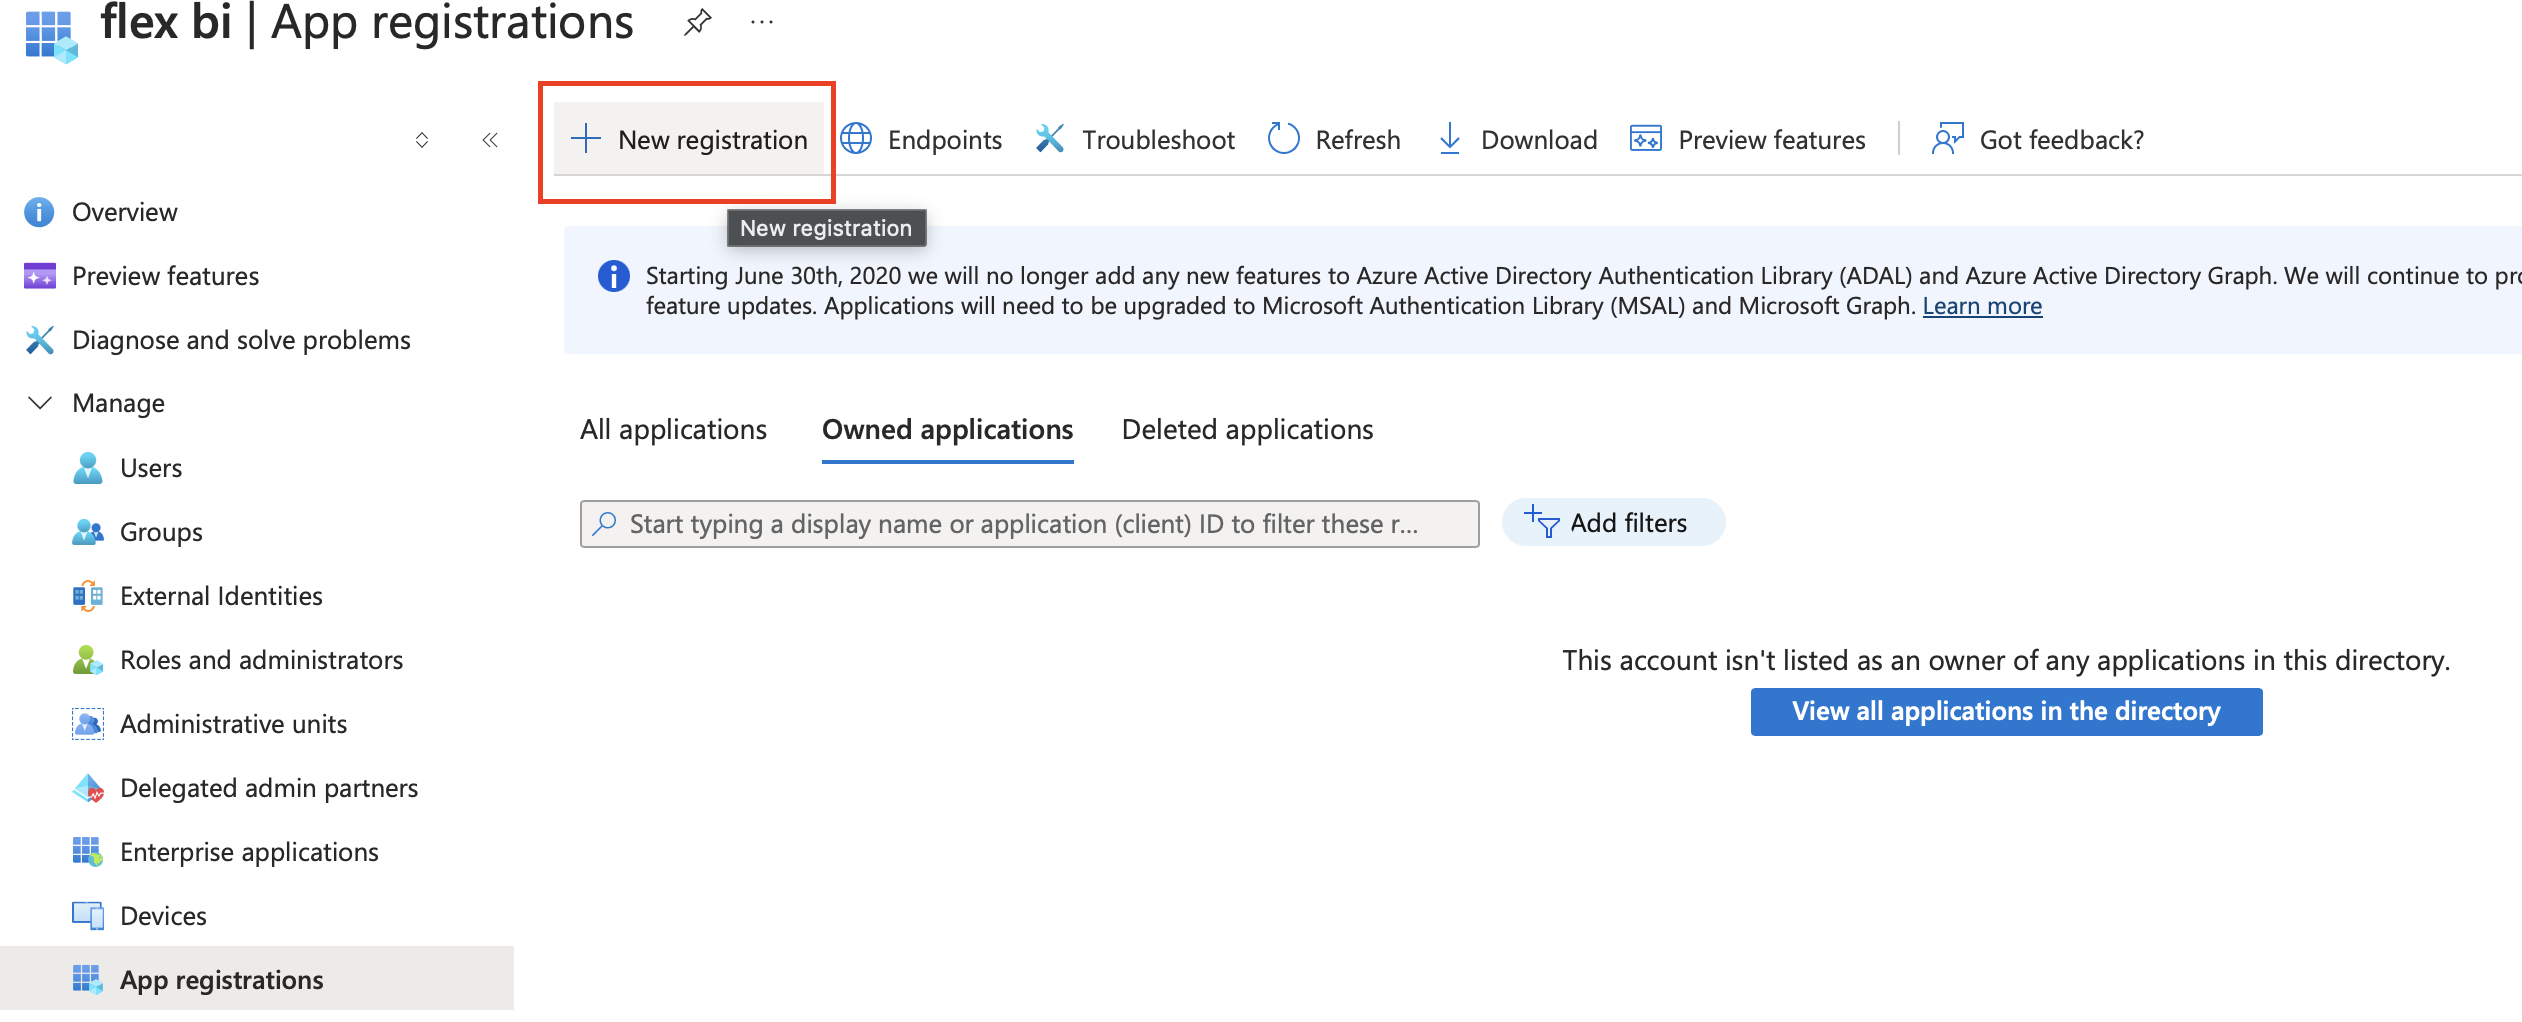
Click on the New Registration button.
-
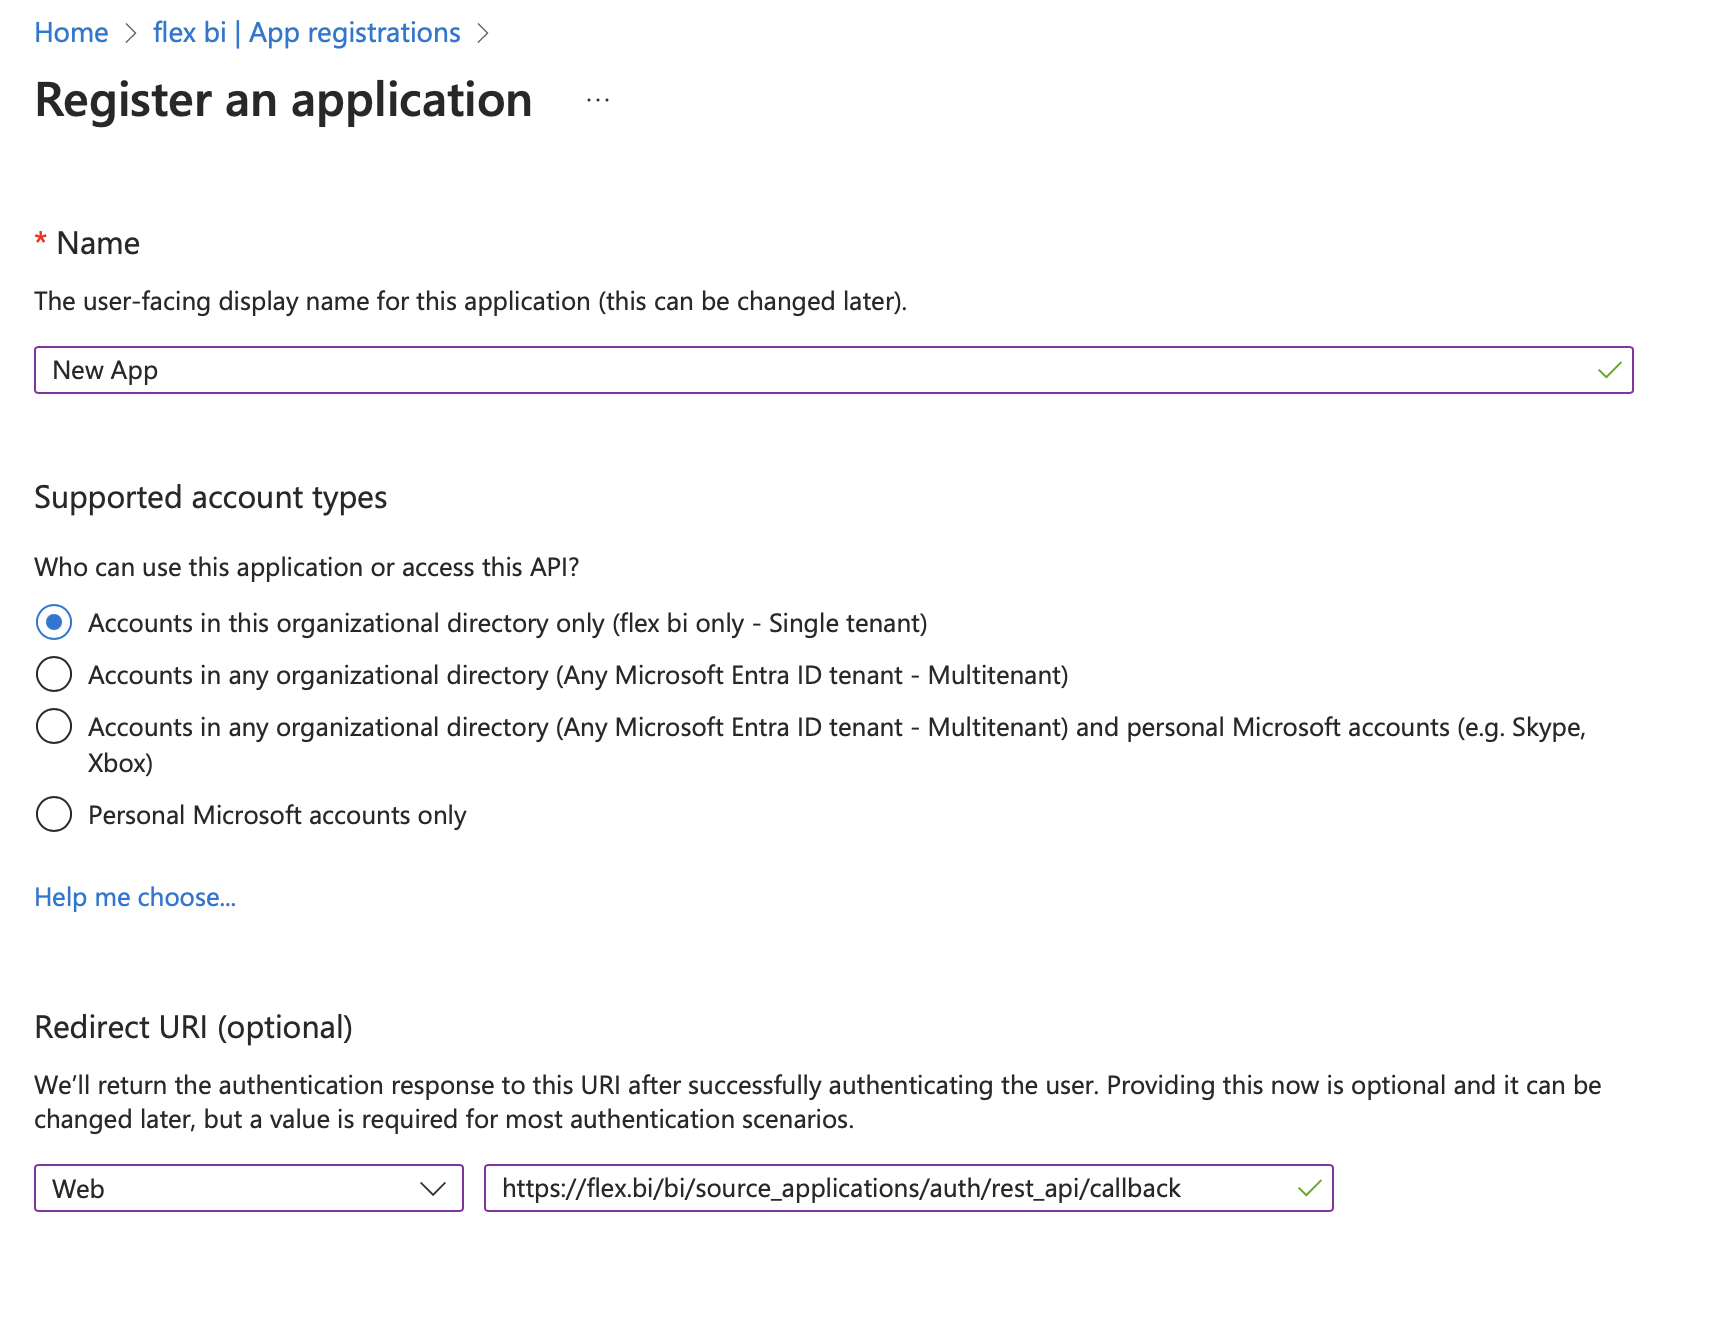
Set up a new application as shown in the screenshot below. Enter redirect URL https://flex.bi/bi/source_applications/auth/rest_api/callback.
-
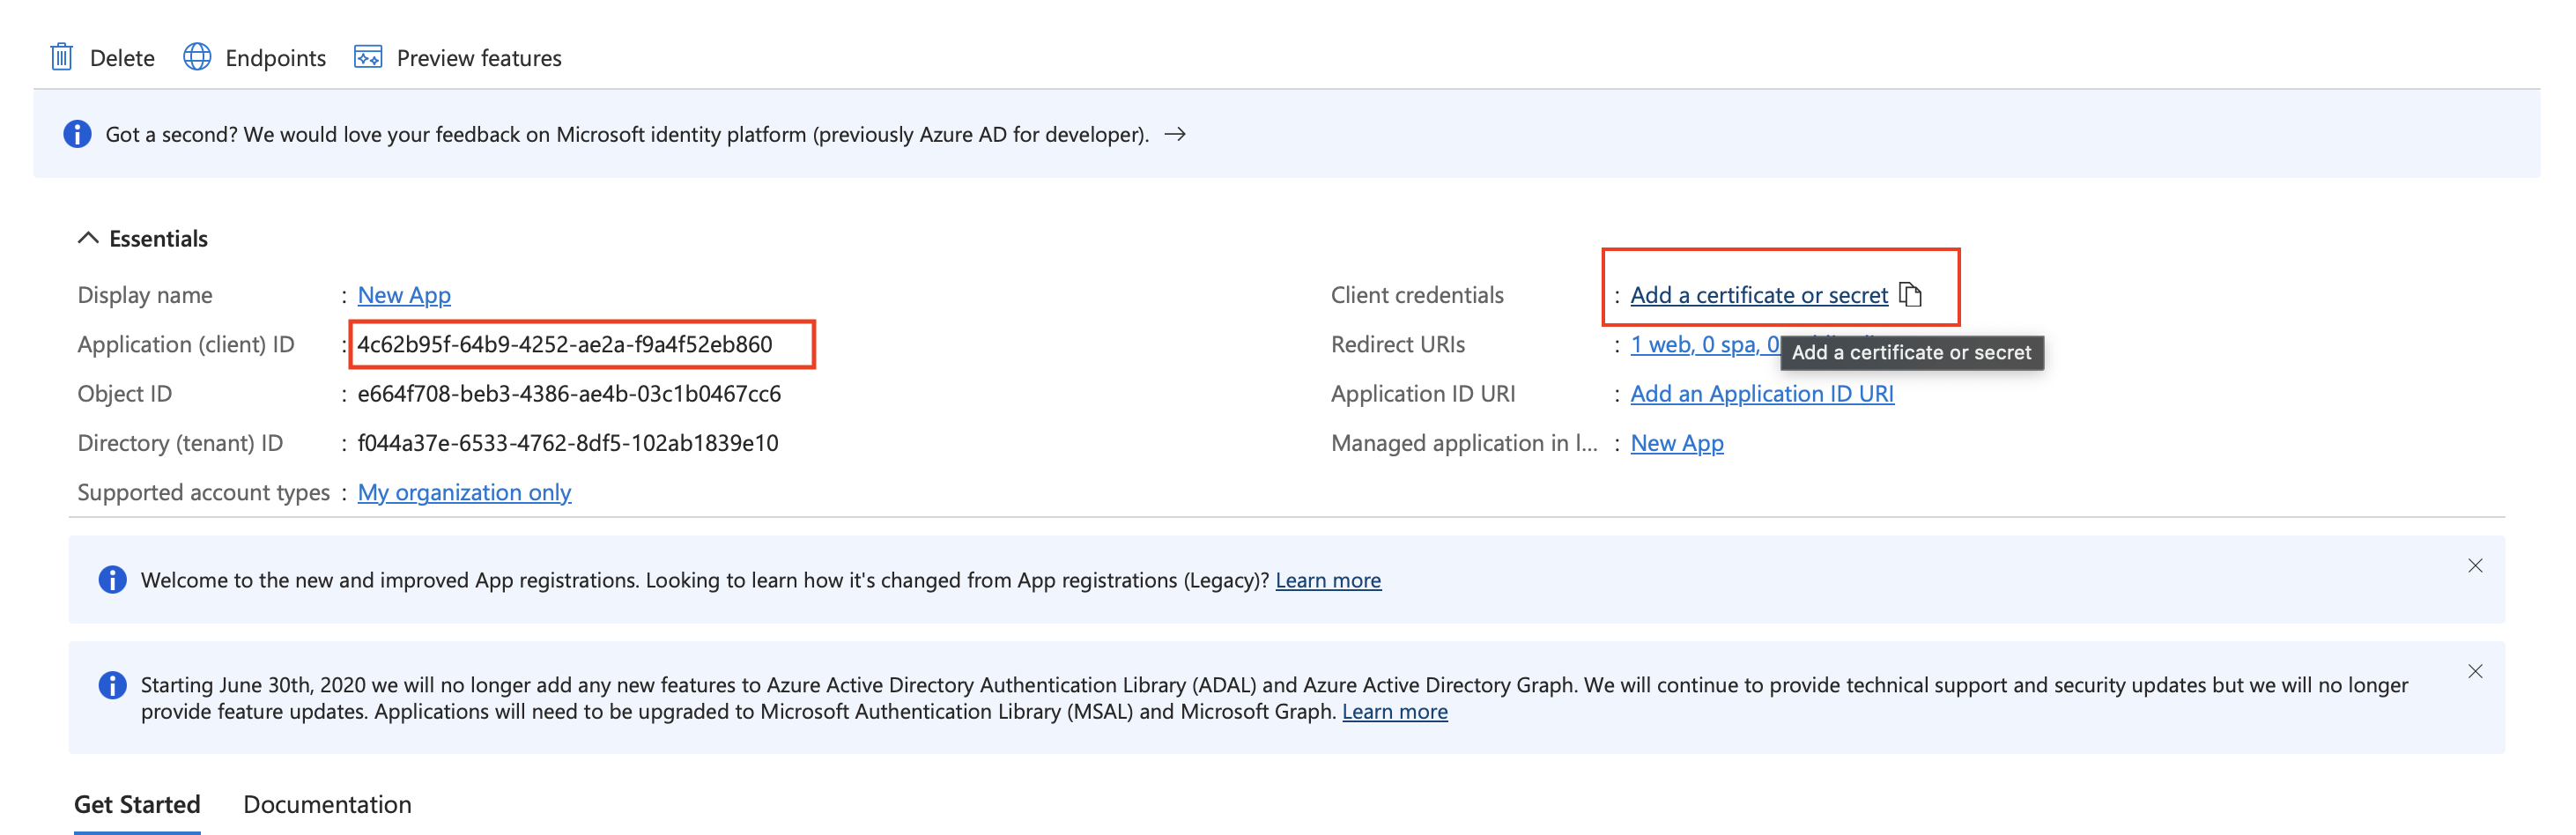
Copy the Application (client) ID and store it for later use. Click on the Add a certificate or secret link.
-
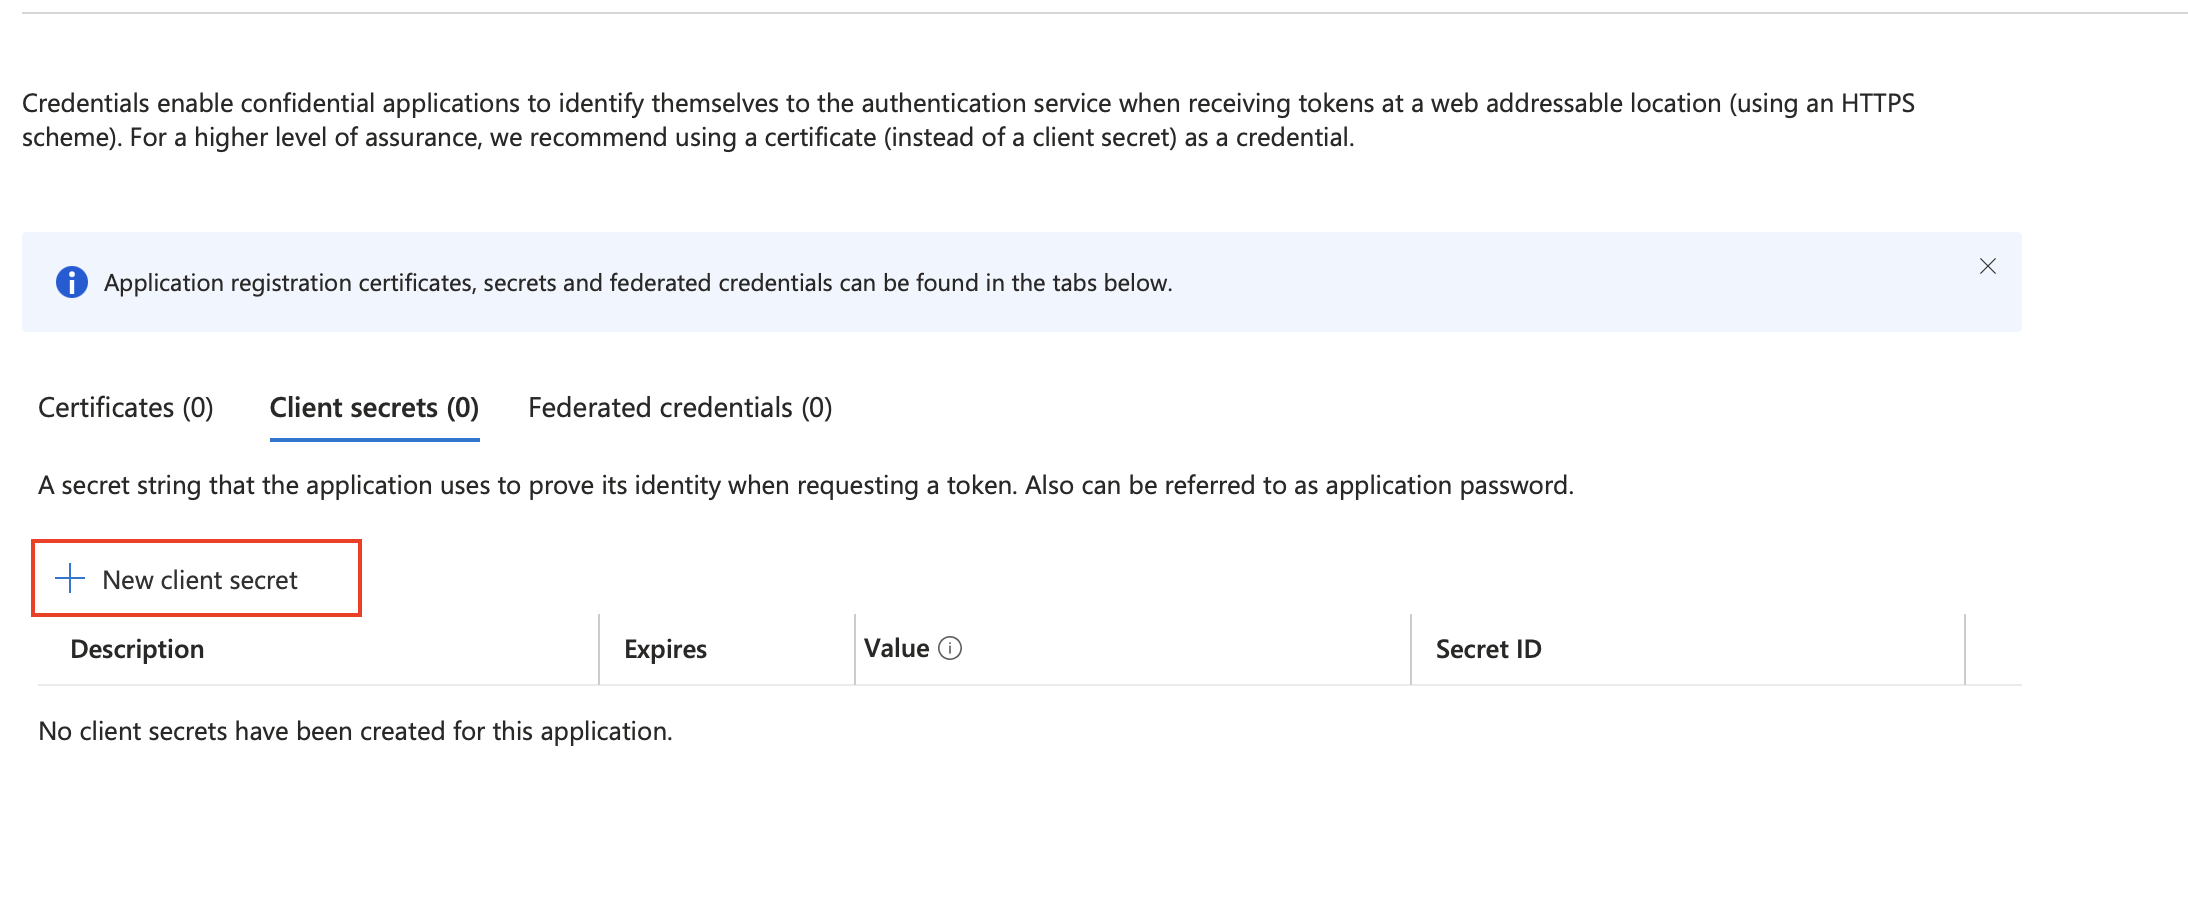
On the next page, click on the New client secret option.
-
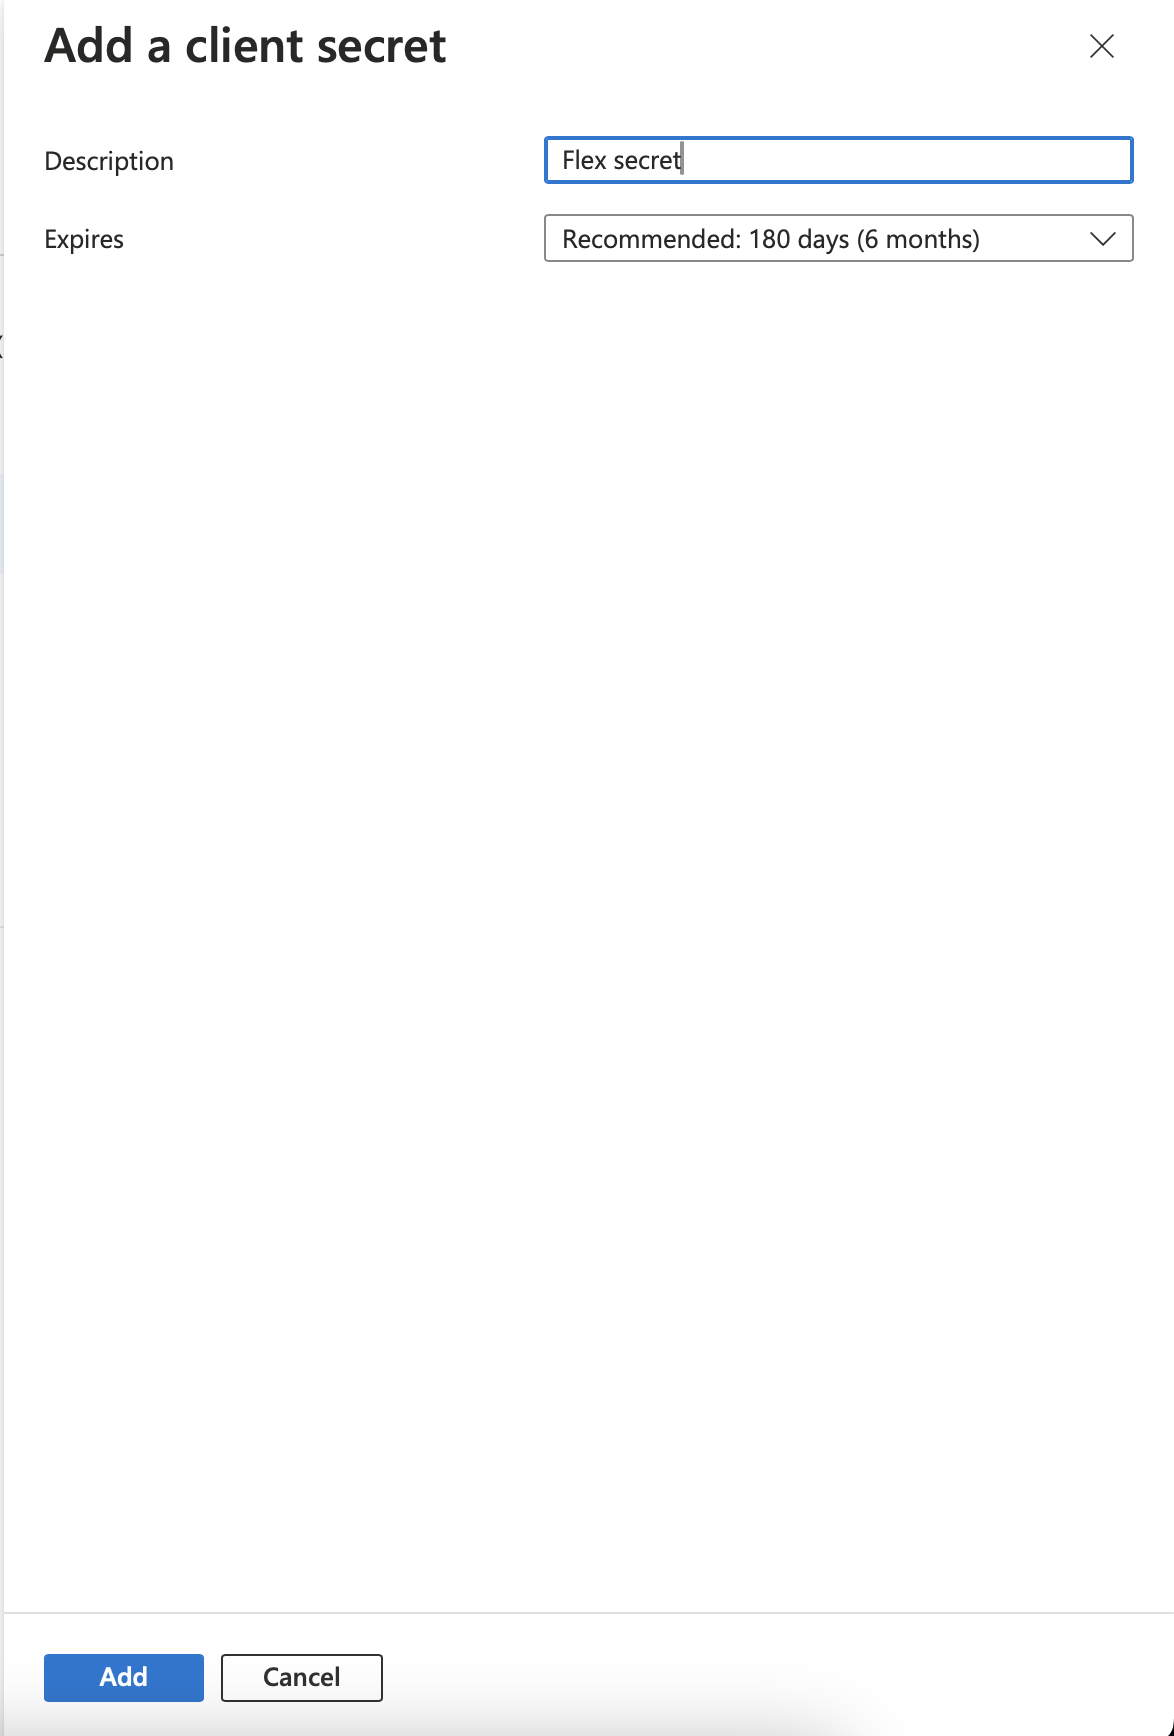
On the next page, enter a name for the new client secret and select one of the period options. Then click on the Add button.
-
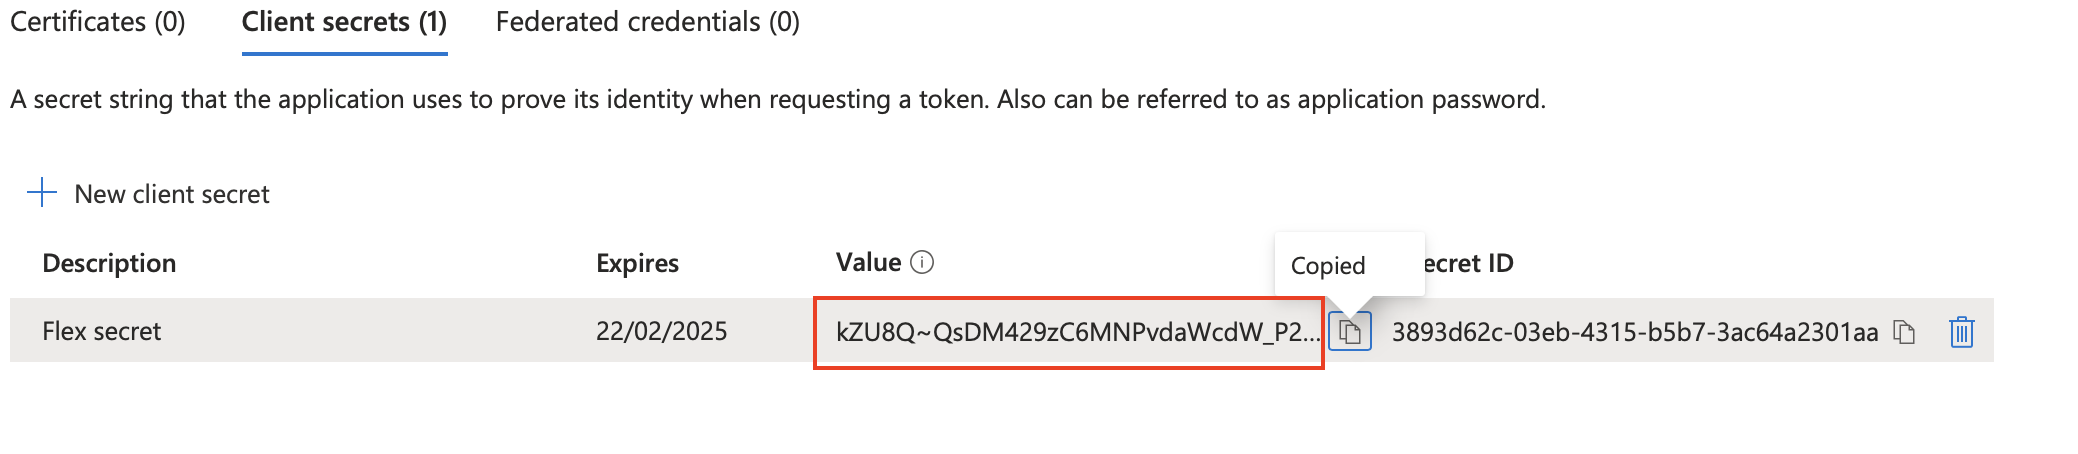
Copy the Value of the Secret. You will need it later, to set up the Rest API connection.
-
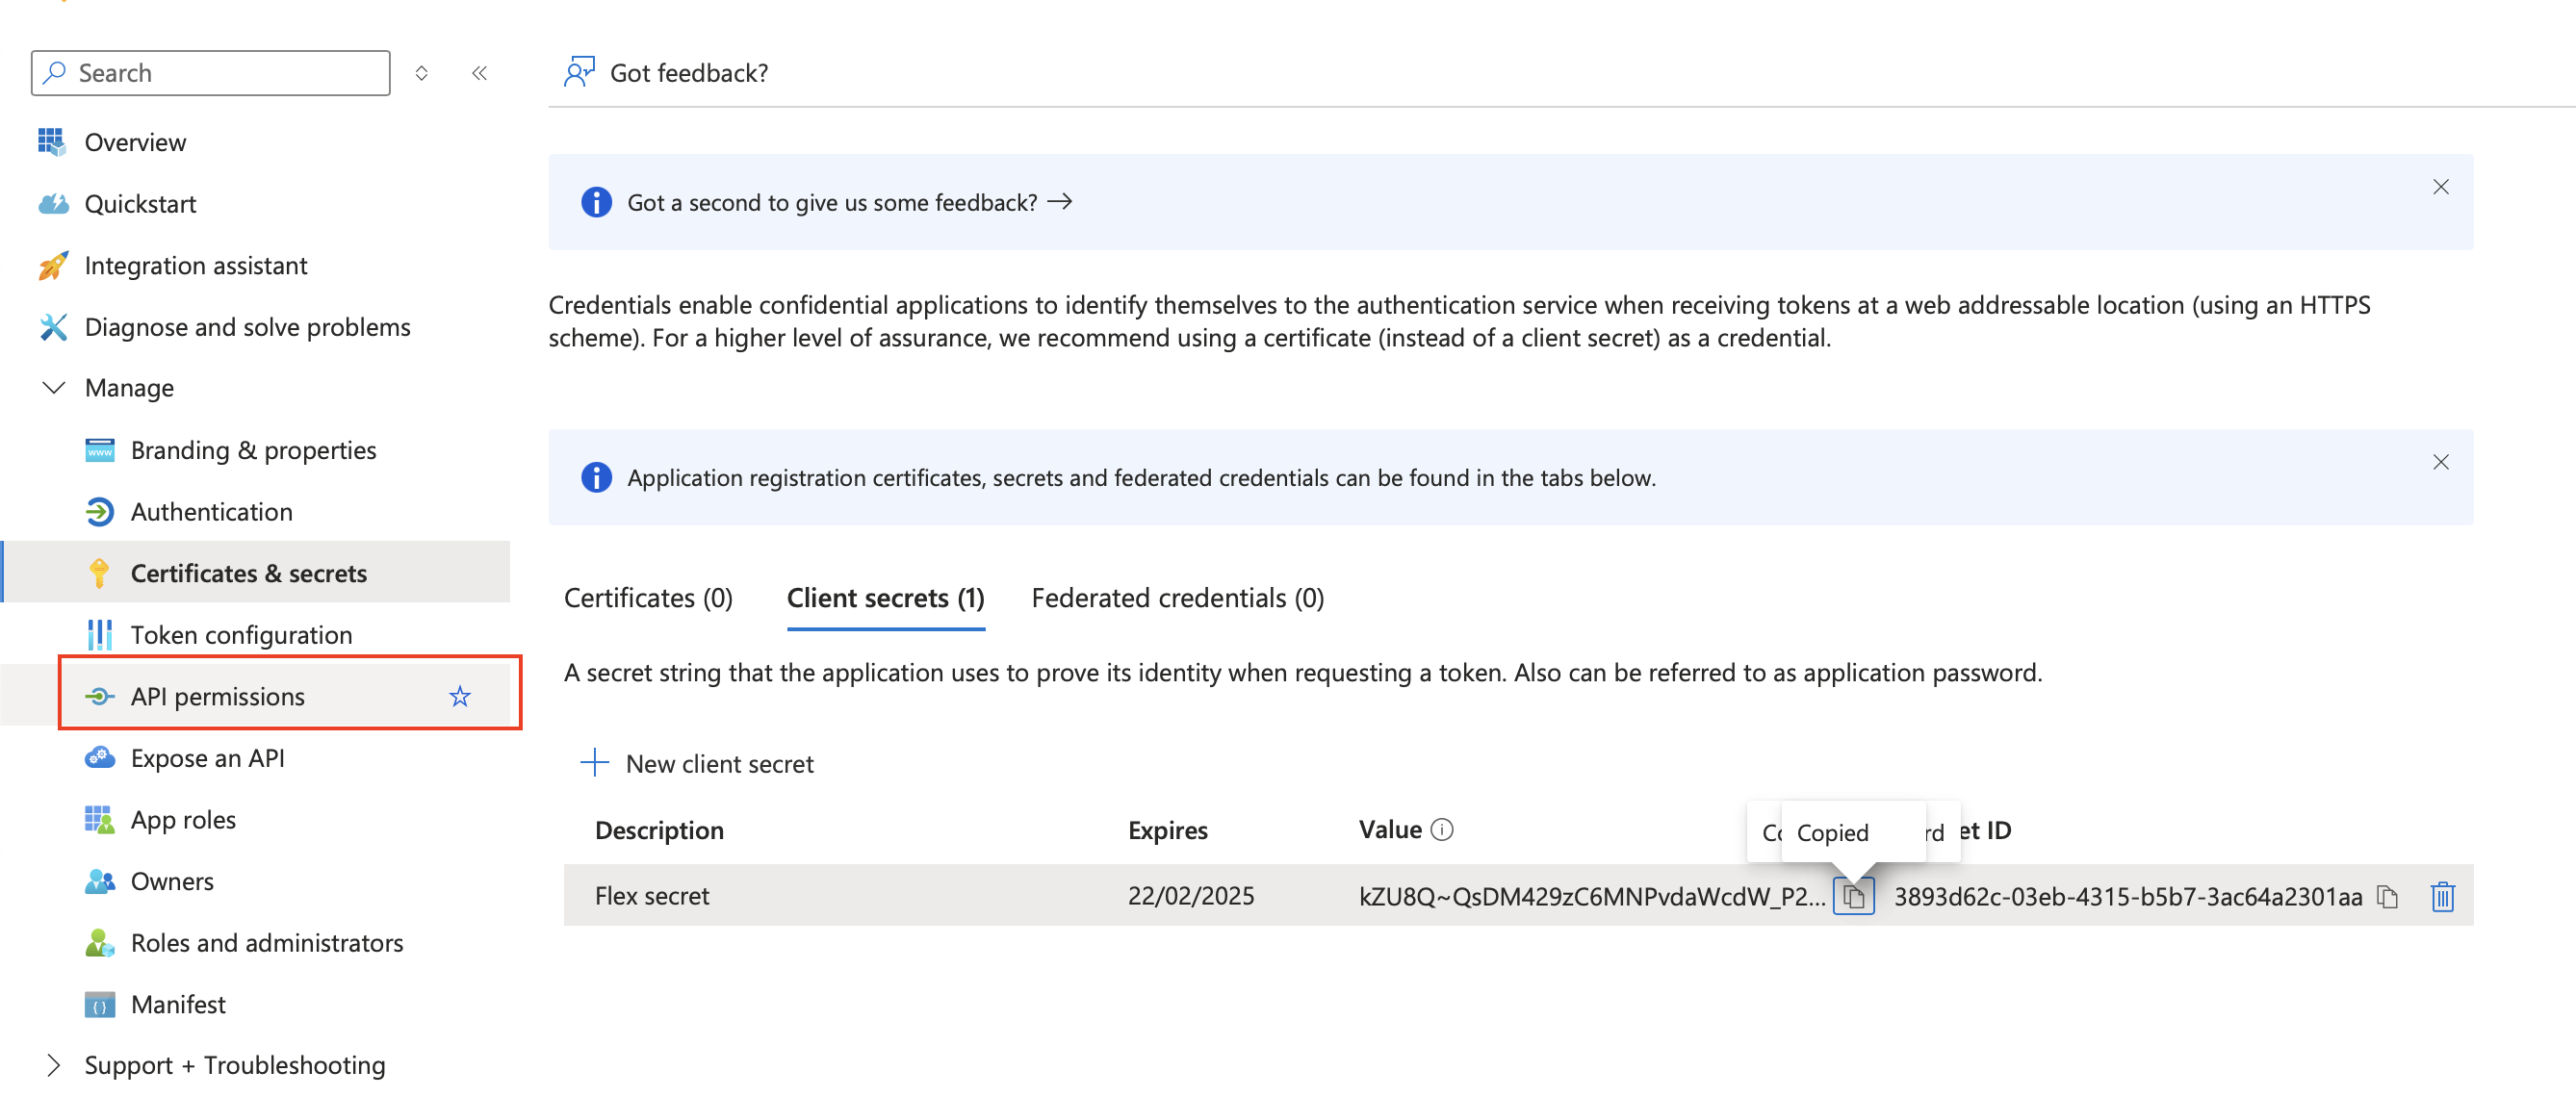
Select API Permissions from the menu on the left.
-
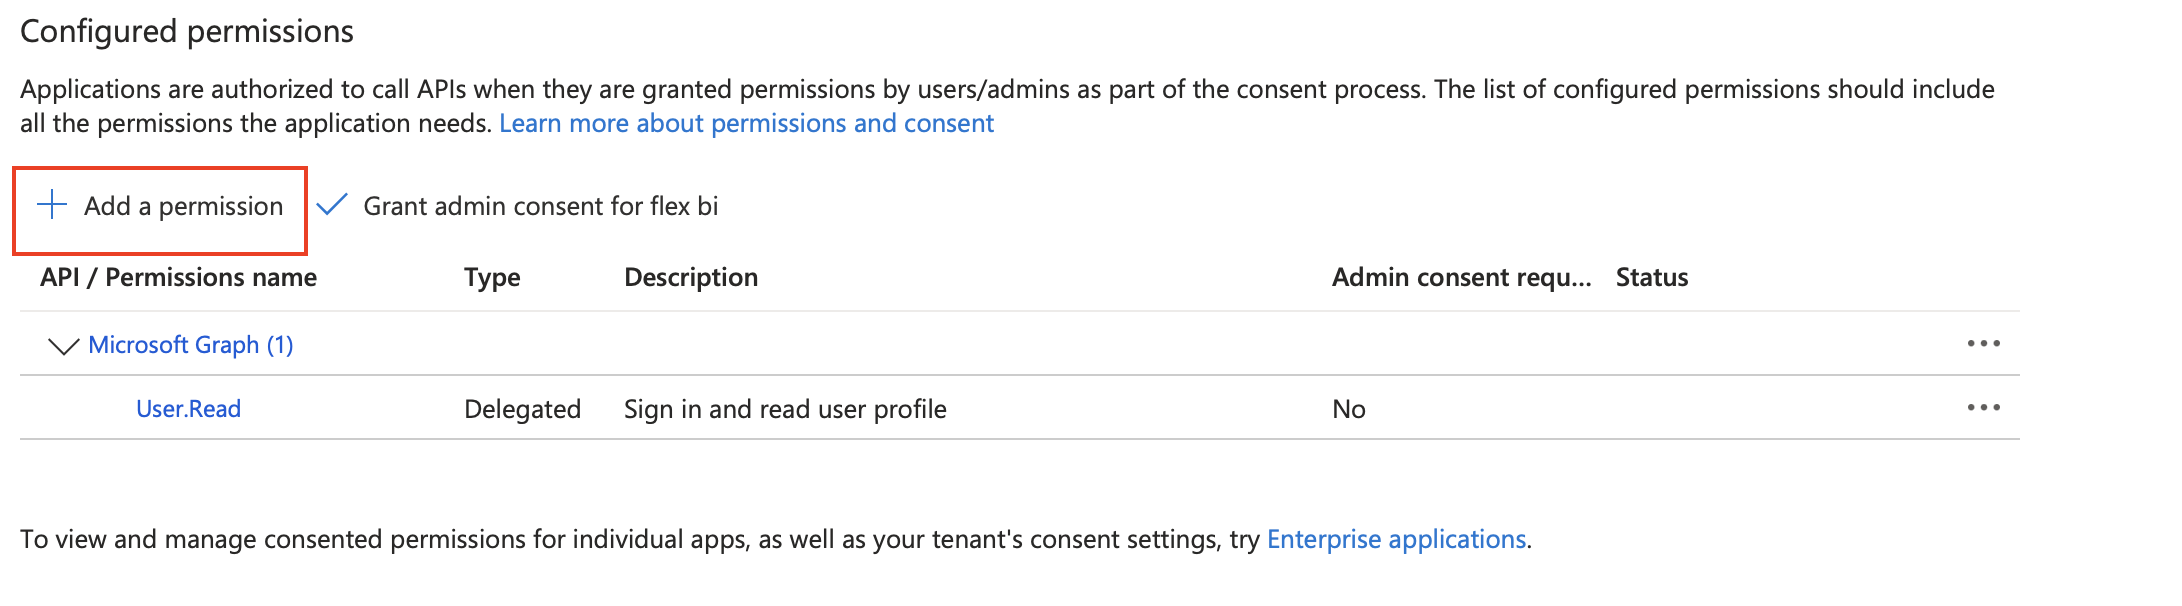
Click on the Add Permission option.
-
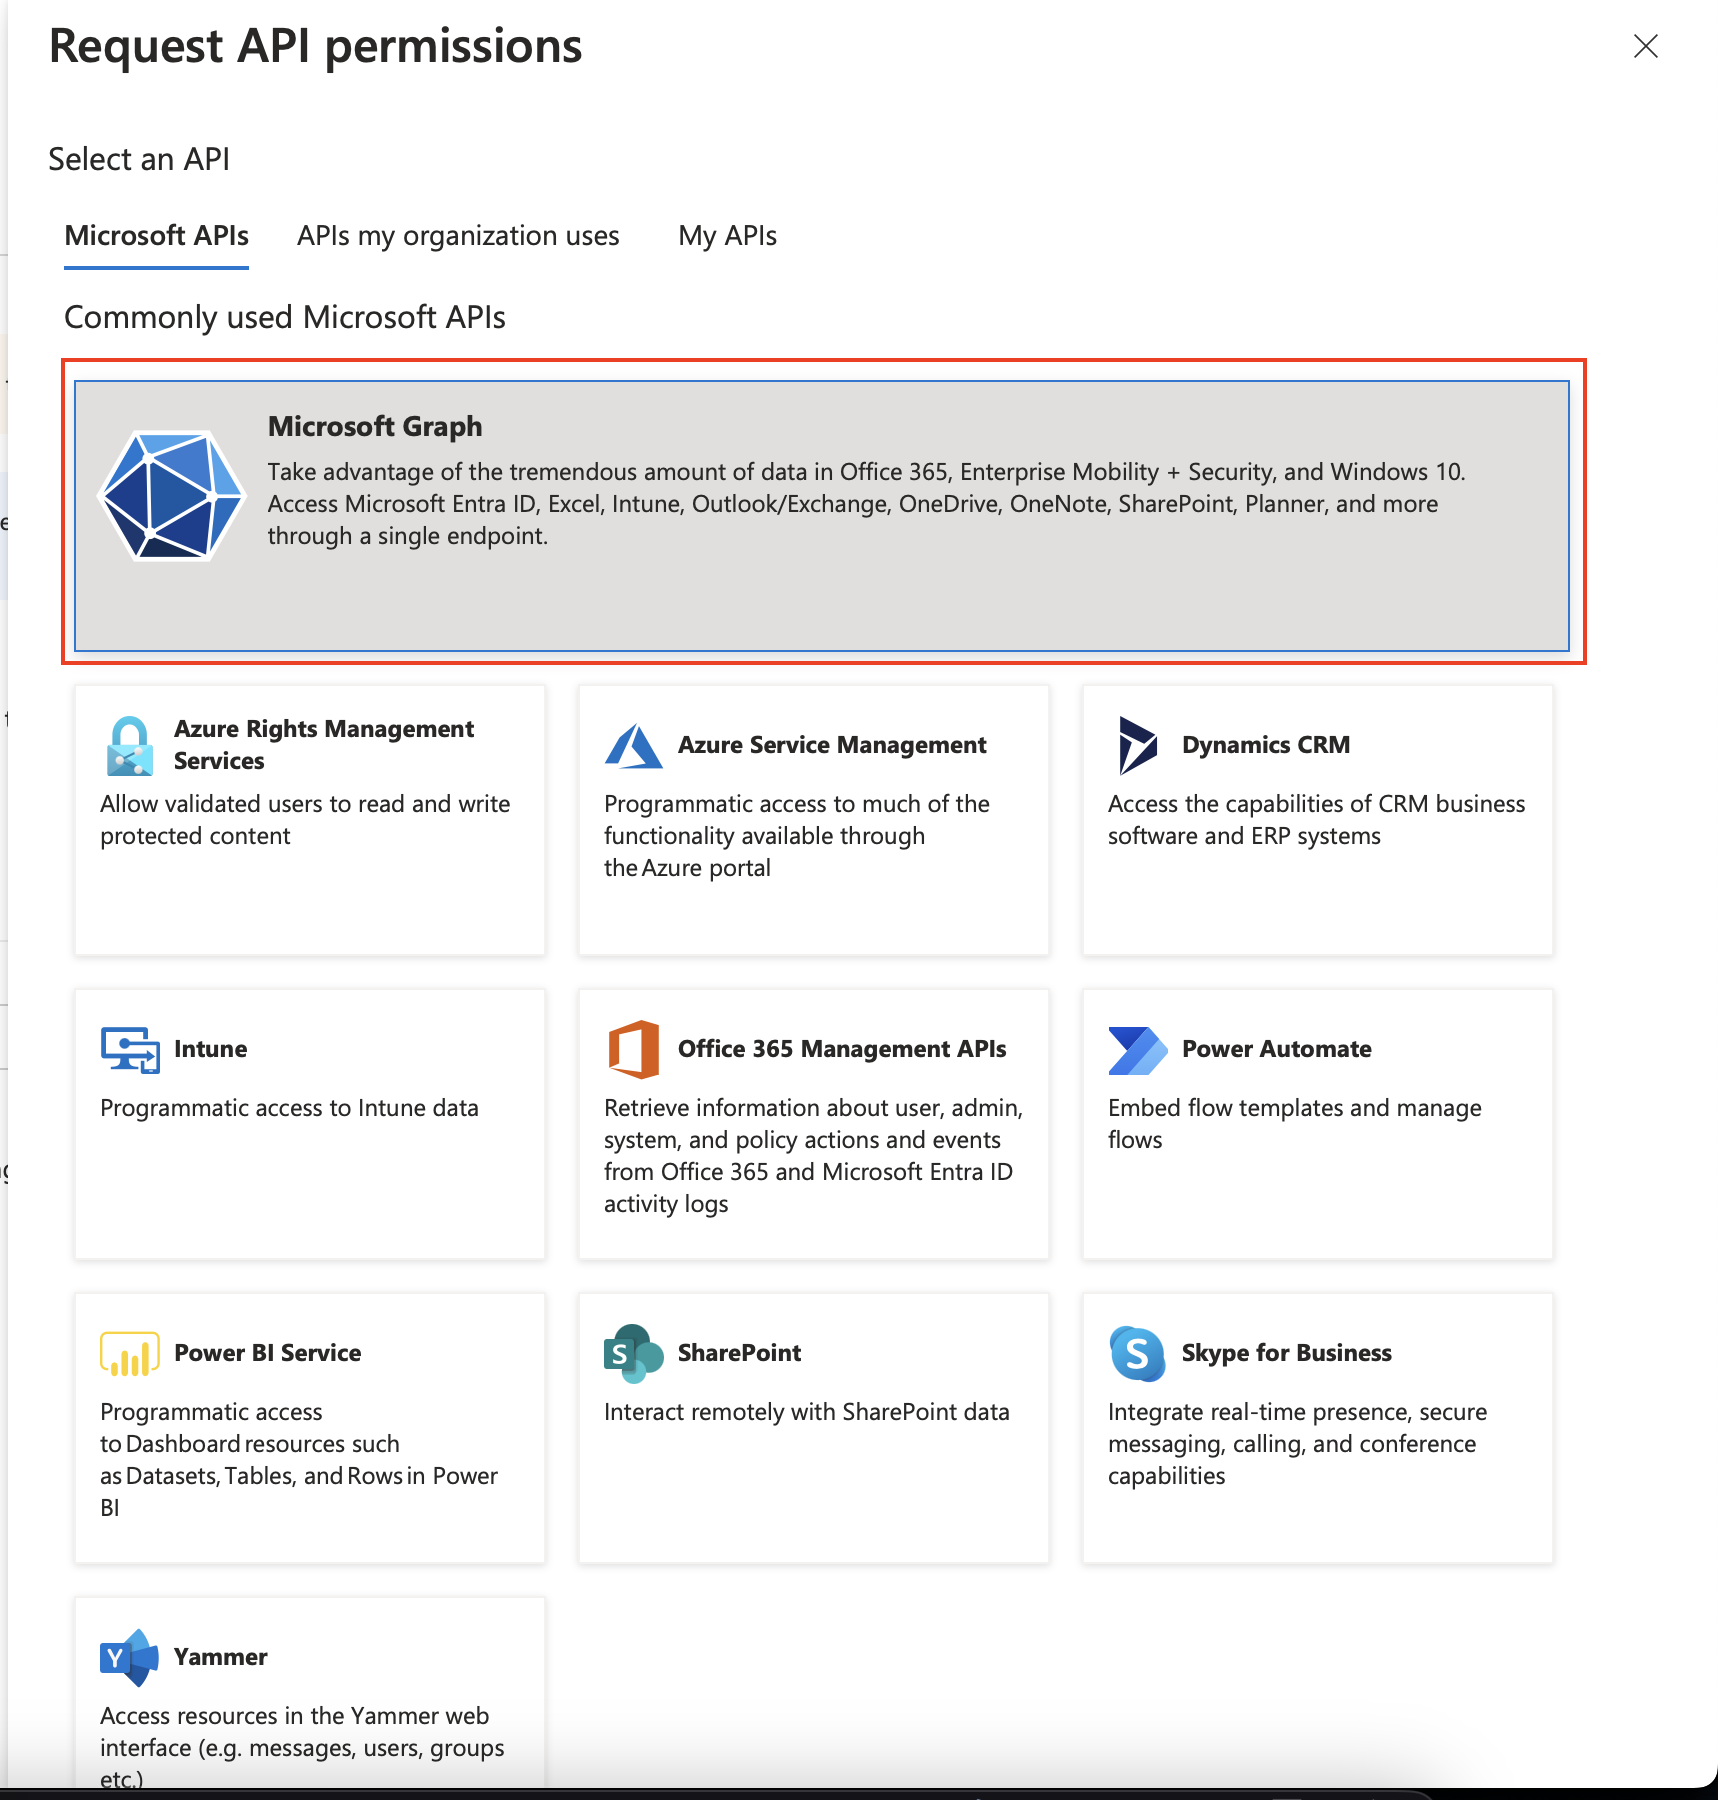
On the next page, click on Microsoft Graph tile.
-
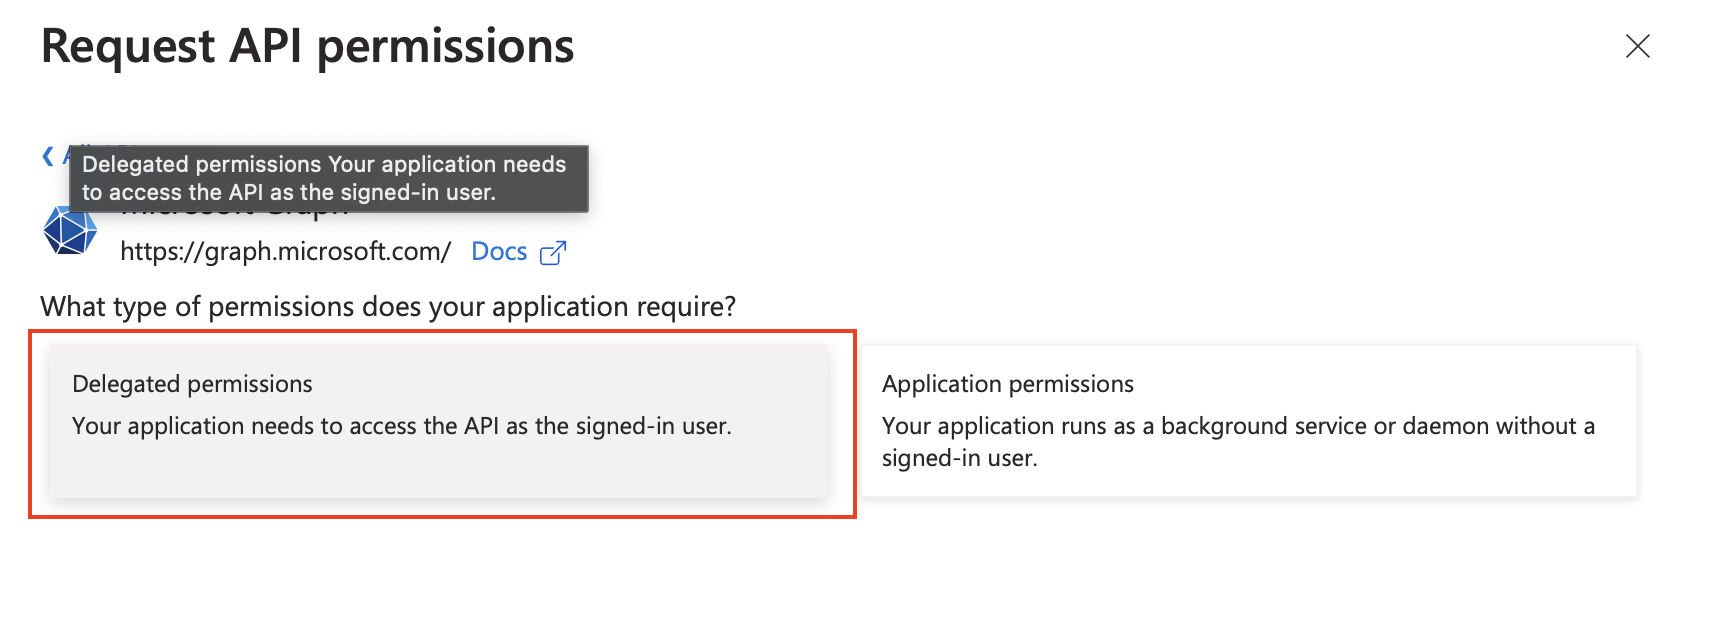
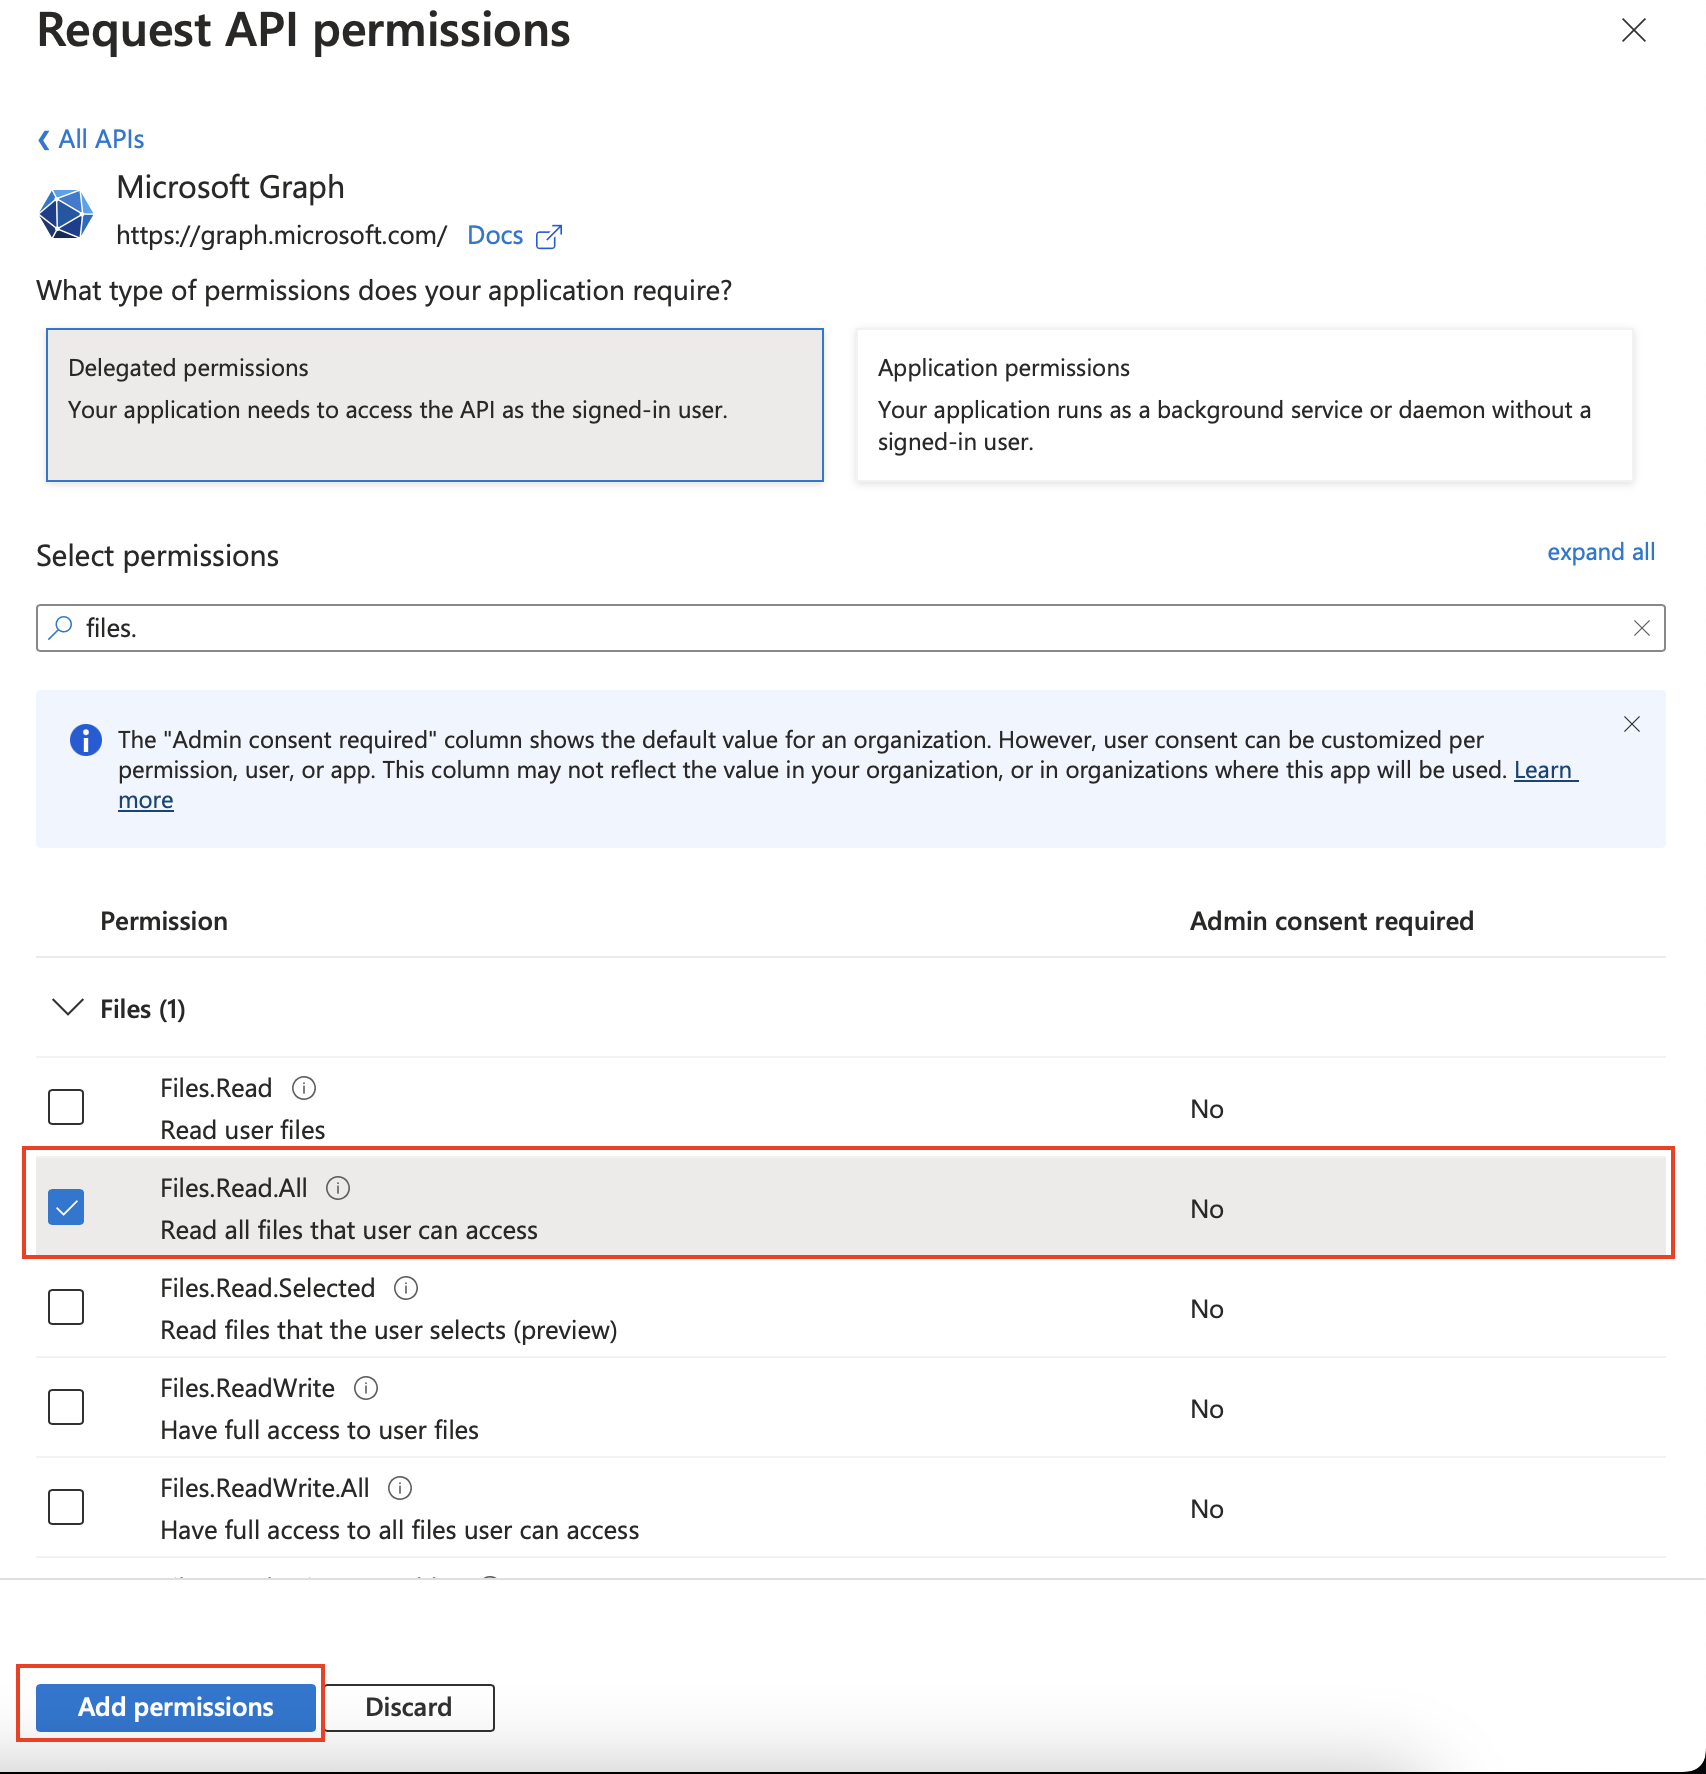
Click on Delegated permissions.
-
Select the Files.Read.All permission and then click on the Add permissions button.
-
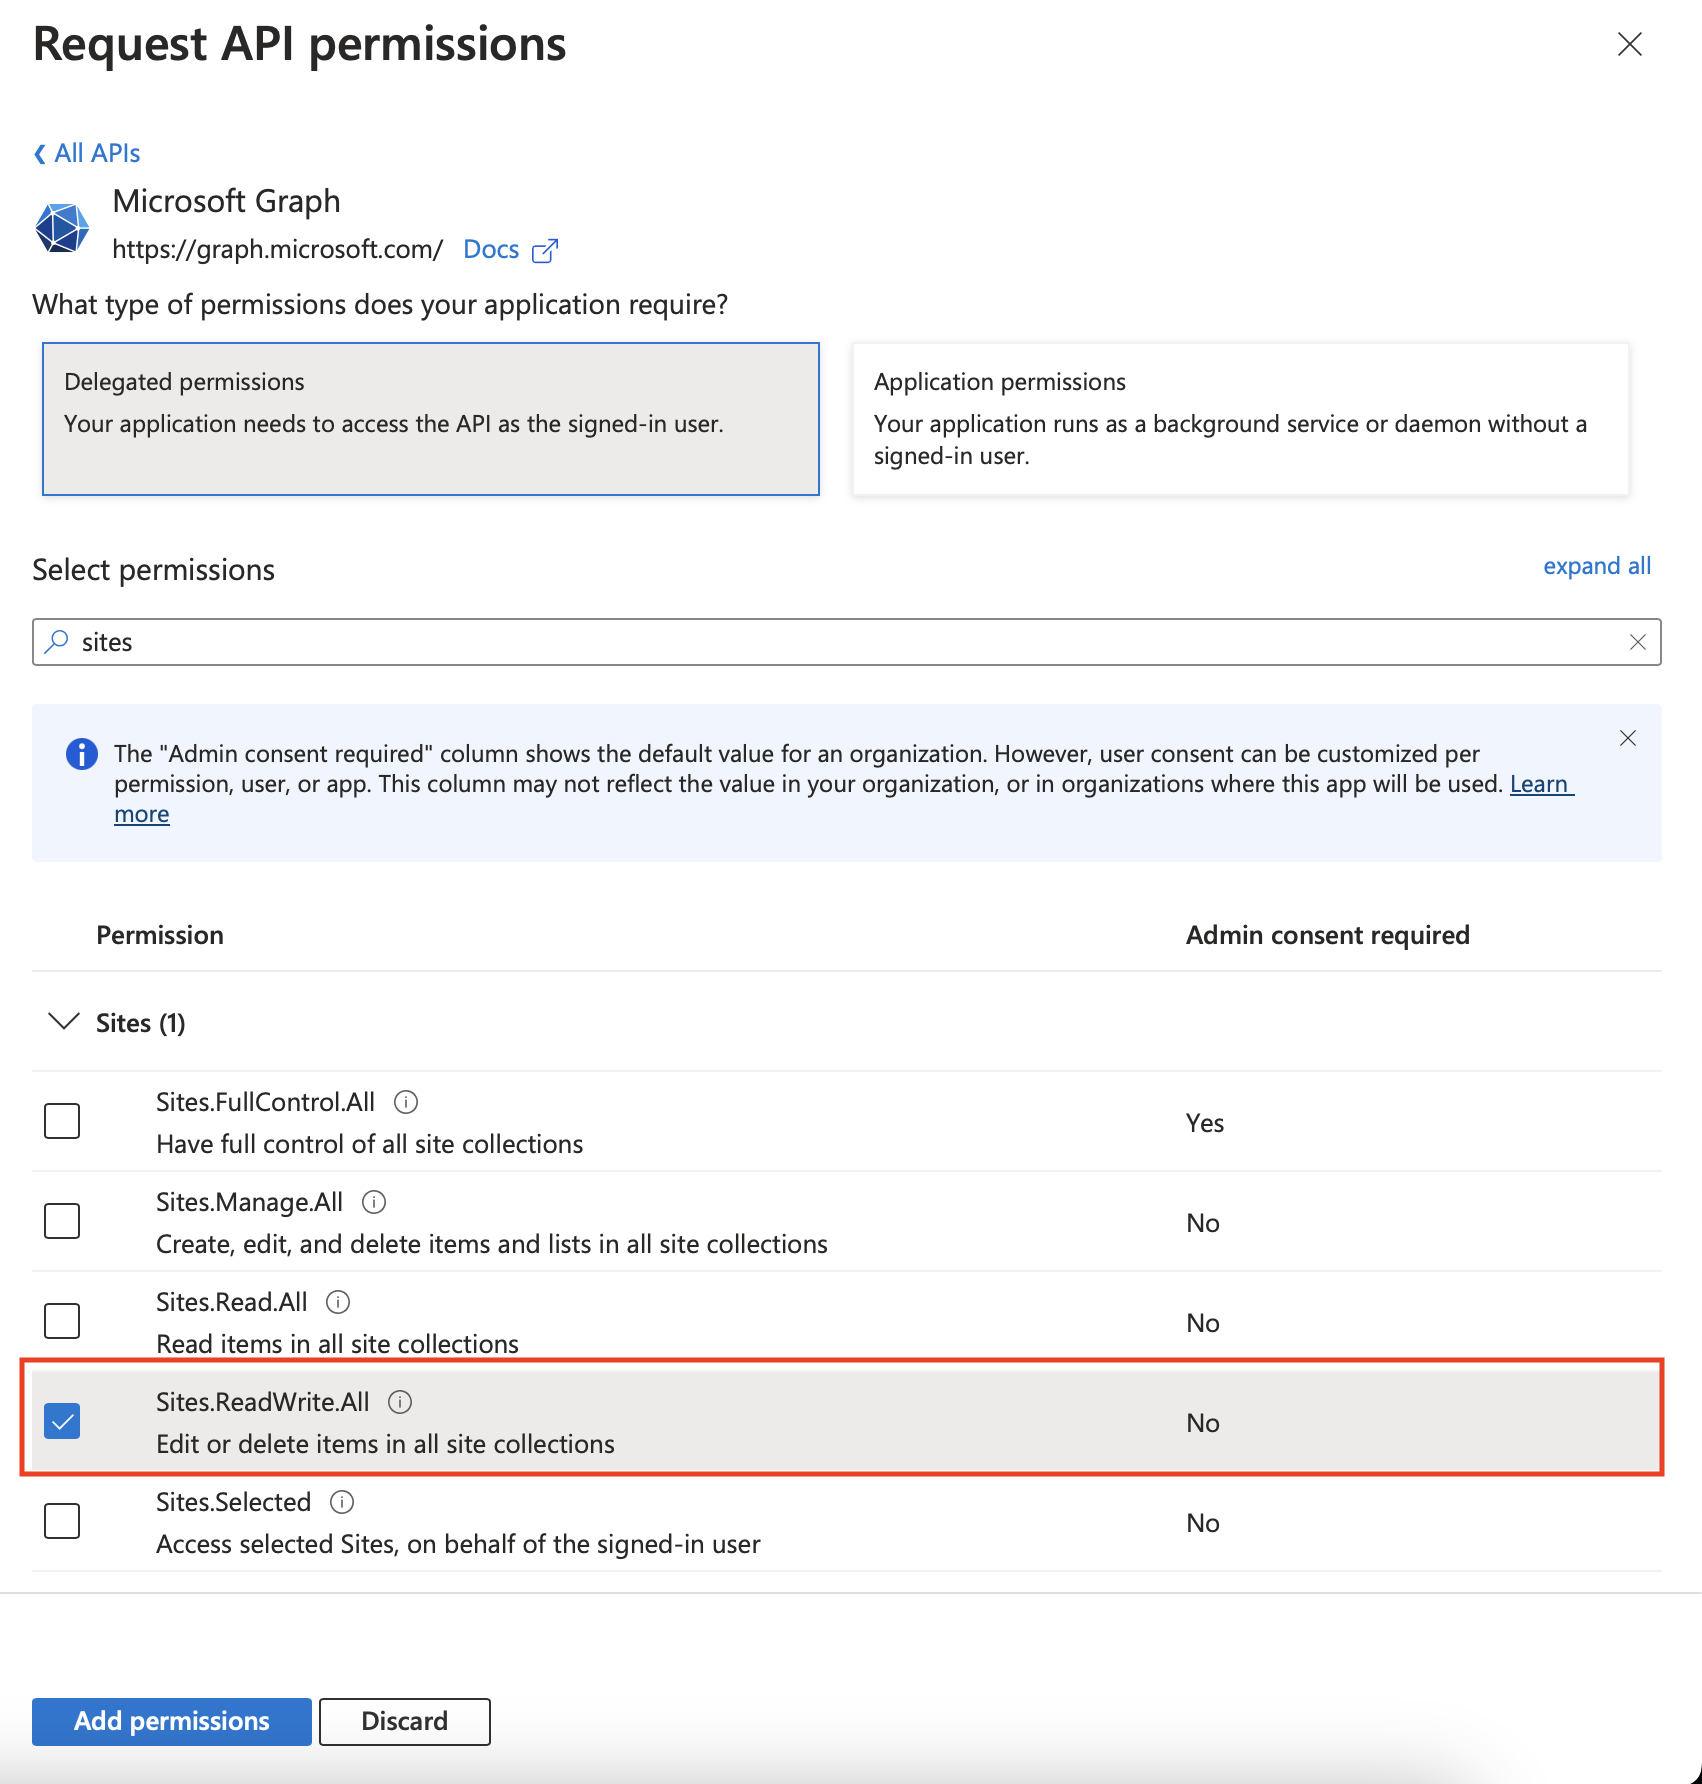
Do the same, to add the Sites.ReadWrite.All permission.
-
Go to your http://flex.bi account and create a new Rest API application. Use the following settings:
-
Client ID: the value you copied earlier.
-
Client Secret: the value you copied earlier.
-
Scope:
offline_access https://graph.microsoft.com/.default. -
Authorize URL:
https://login.microsoftonline.com/organizations/oauth2/v2.0/authorize. -
Token URL:
https://login.microsoftonline.com/organizations/oauth2/v2.0/token.
-
-
Set the following Source Data URL and click on the Continue button:
https://graph.microsoft.com/v1.0/sites?search=* -
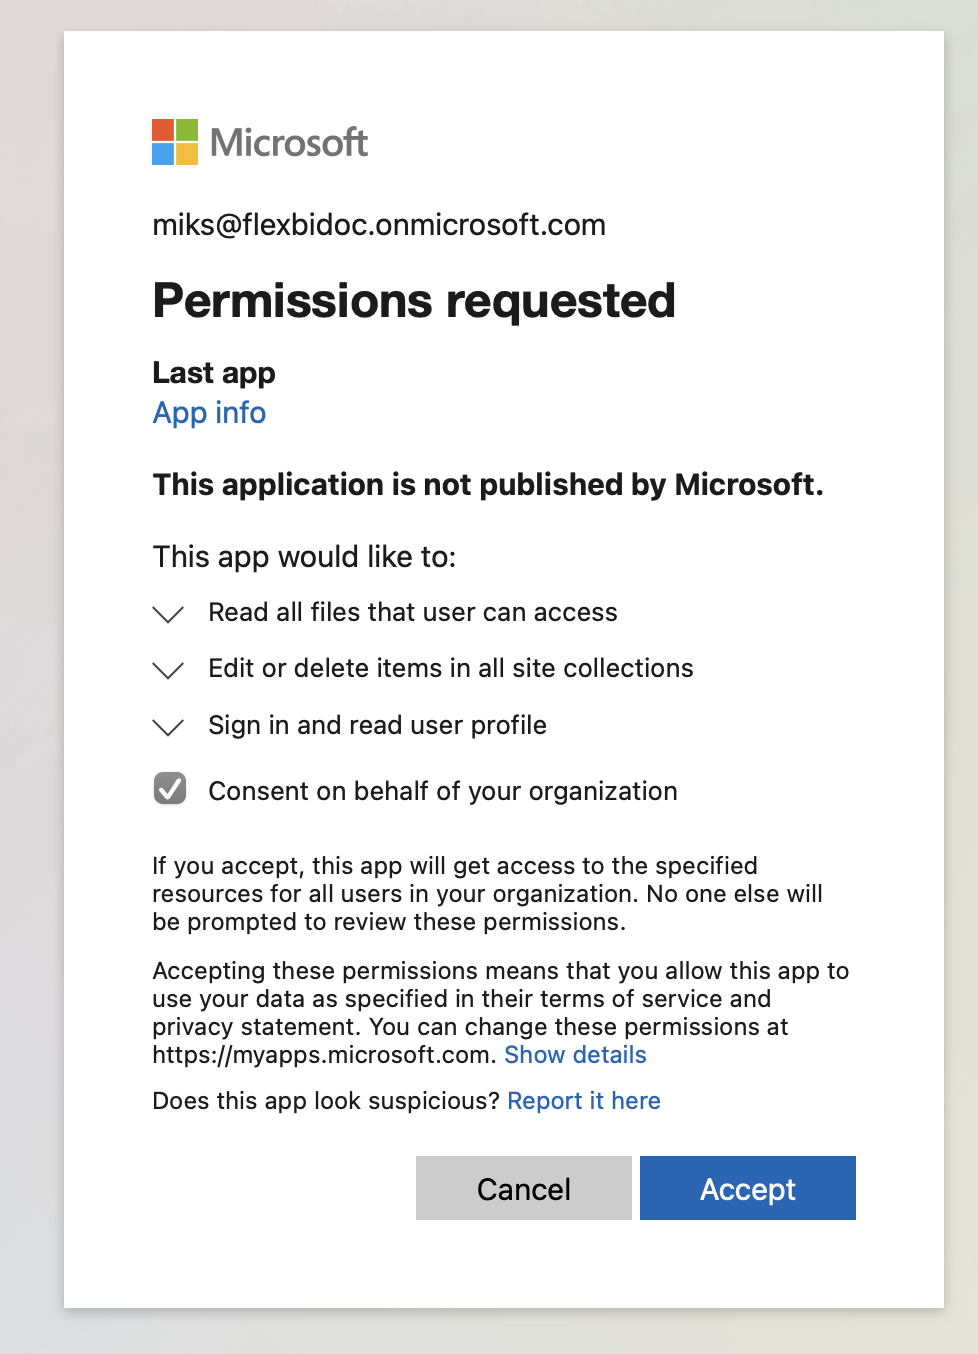
On the popup, grant the required access to your Microsoft account.
-
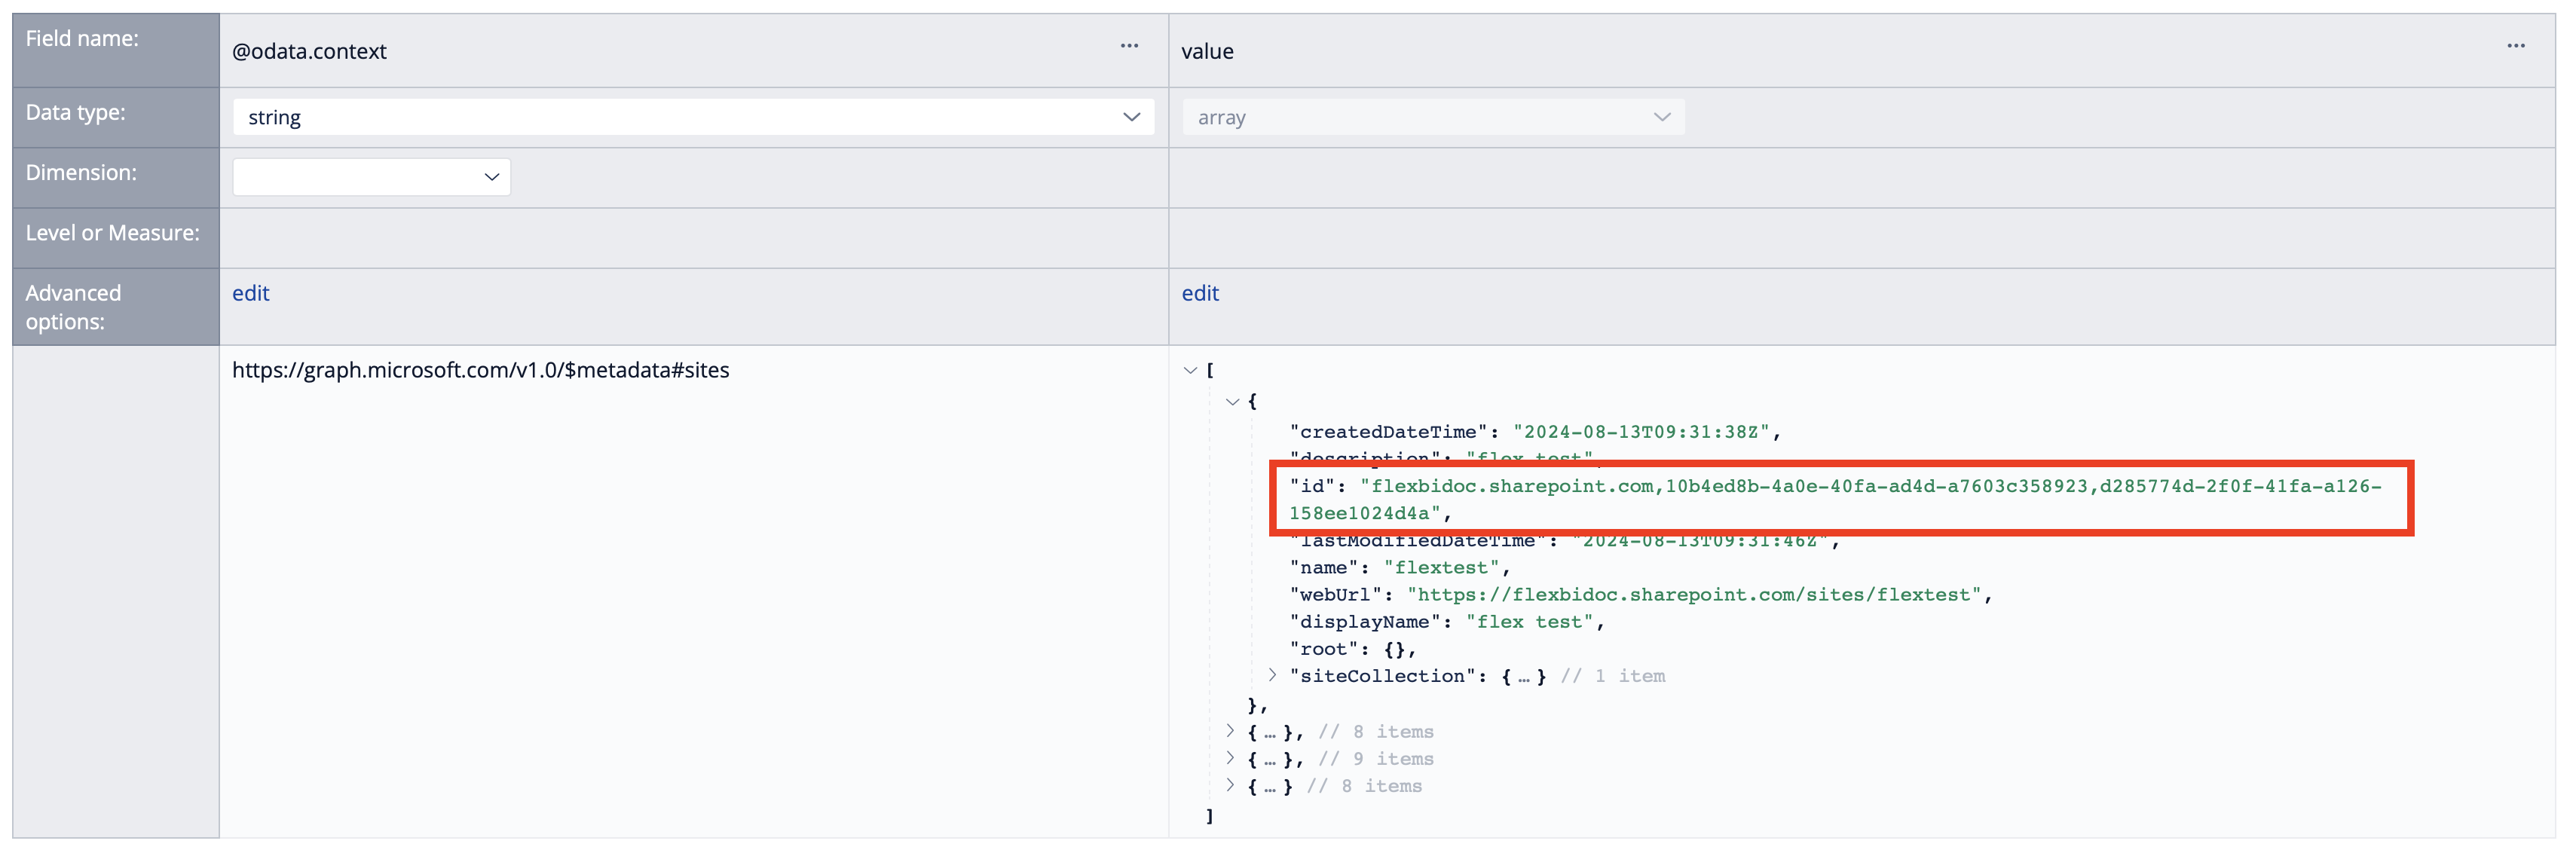
On the data preview page, expand the values section and find the id of your SharePoint site. Copy it for later use.
-
Click on the Back to Edit button and change the Source Data URL to the following:
https://graph.microsoft.com/v1.0/sites/{site ID}/drives, where{site ID}is the id value you just copied. Click on the Continue button. -
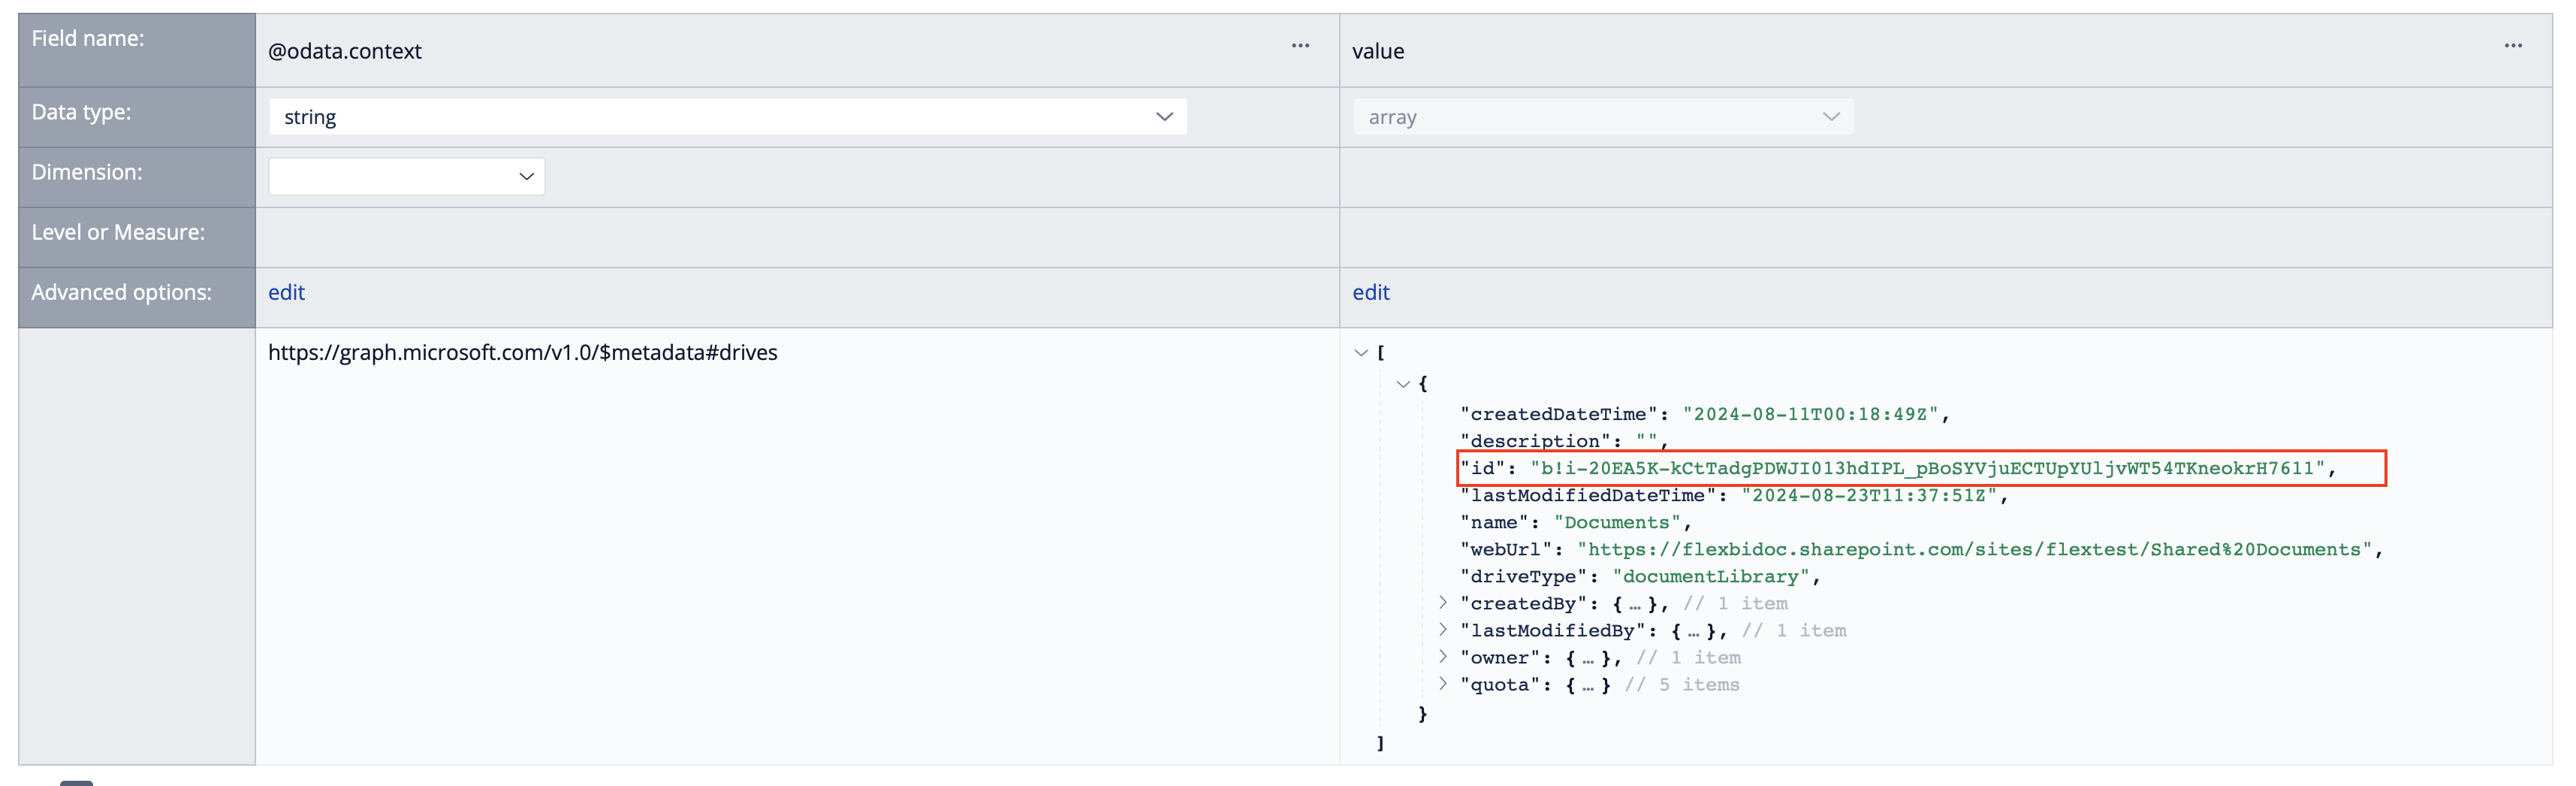
On the data preview page, expand the values section and find the id of your SharePoint drive. Copy it for later use.
-
Click on the Back to Edit button and change the Source Data URL to the following:
https://graph.microsoft.com/v1.0/sites/{site ID}/drives/{drive ID}/items/root/children, where{site ID}is the id value you used before and{drive ID}is the id you just copied. Click on the Continue button. -
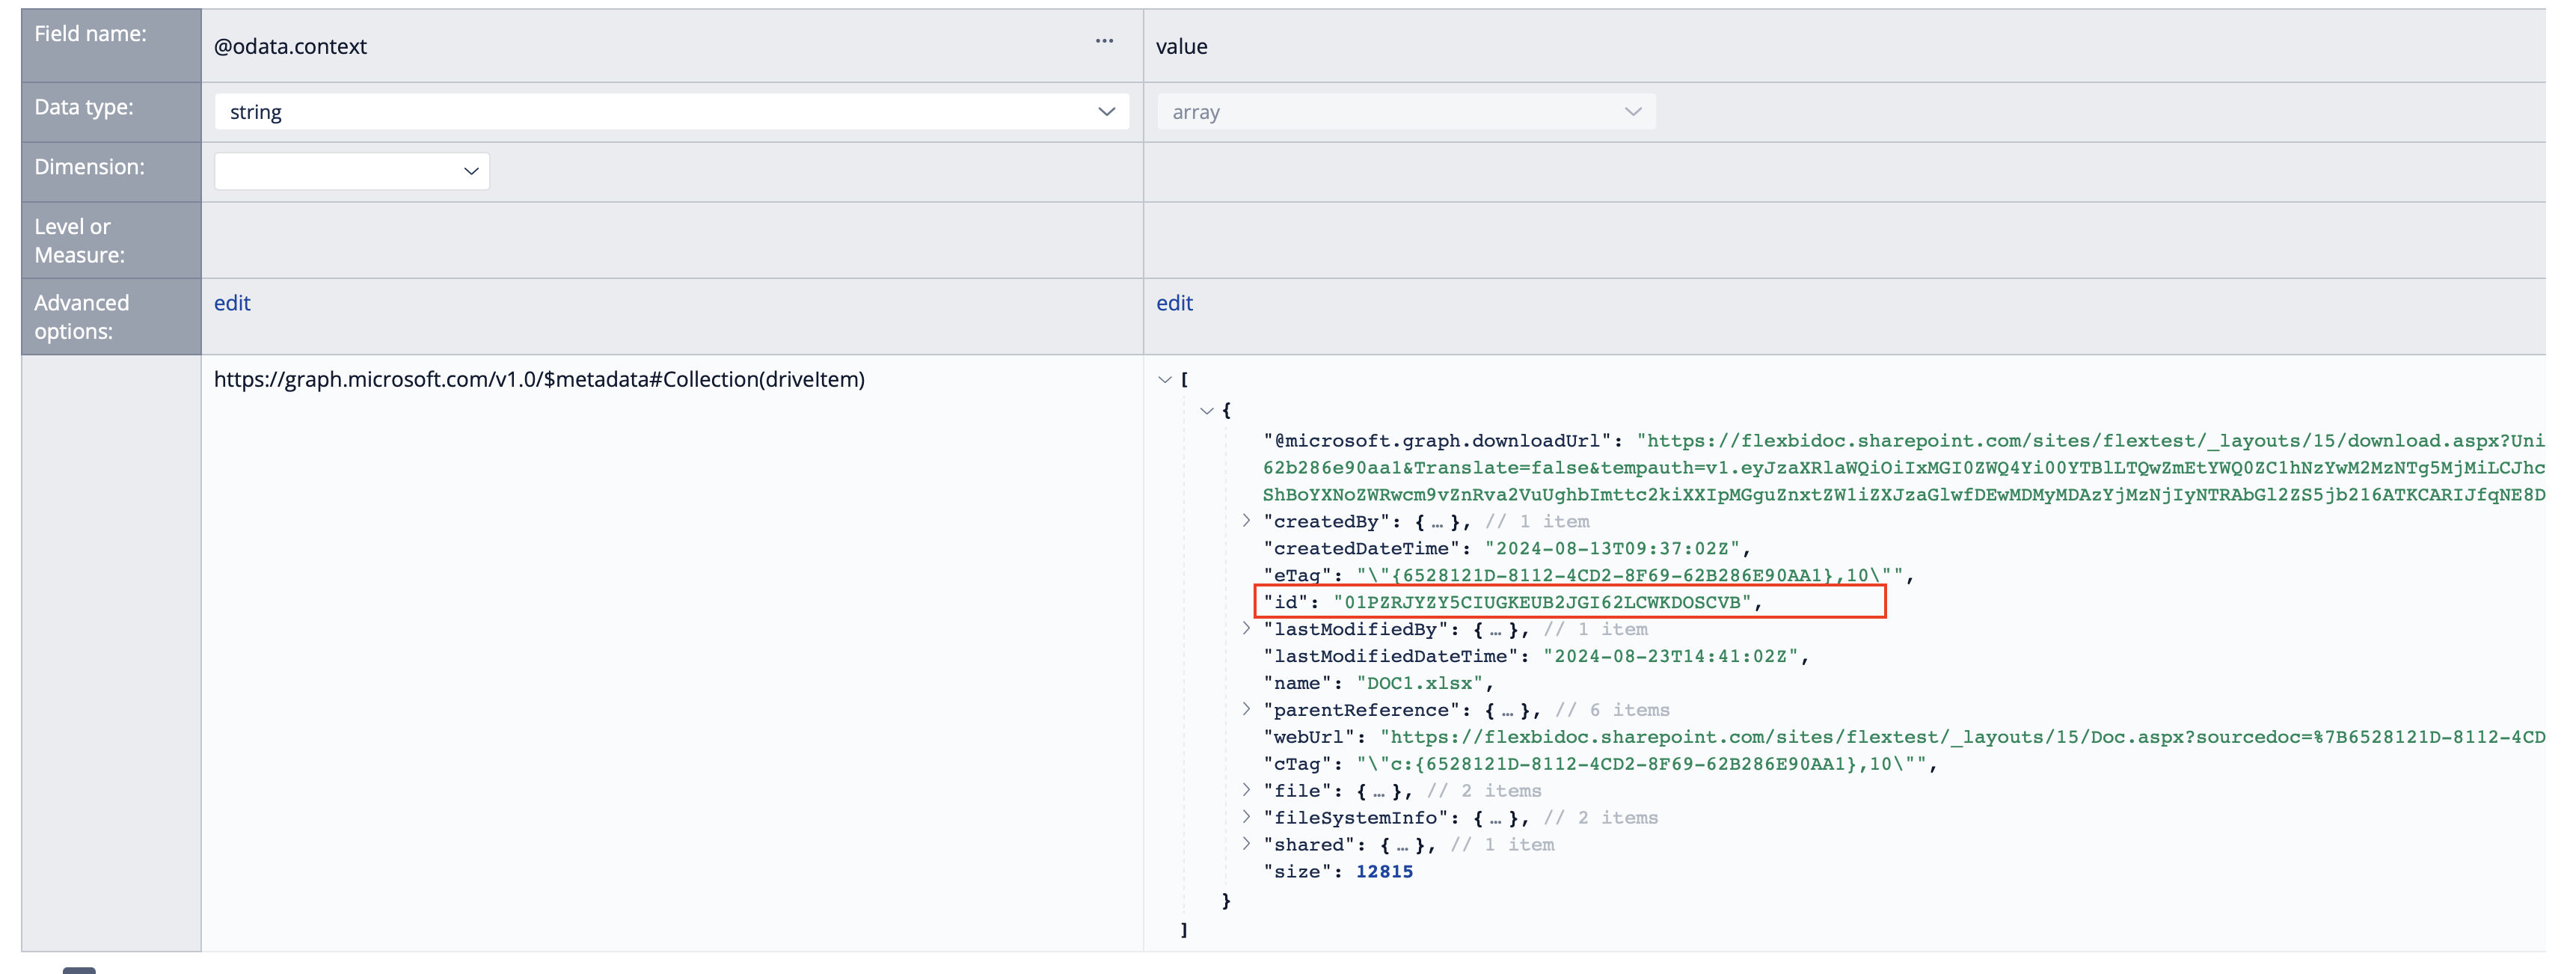
On the data preview page, expand the values section and find the id of your Excel document. Copy it for later use.
-
Click on the Back to Edit button and change the Source Data URL to the following:
https://graph.microsoft.com/v1.0/sites/{site ID}/drives/{drive ID}/items/{item ID}/workbook/worksheets/{worksheet name}/usedRange, where{site ID}, {drive ID}are the id values you used before and{item ID}is the id you just copied, and{worksheet name}is the name of the worksheet that you want to import. Click on the Continue button. -
Now you should see the containts of the Exel document ready for mapping and import.